• Select the text or section or content to be hyperlinked.
• Click the icon  “Insert/Edit link” in the Menu toolbar to open the window.
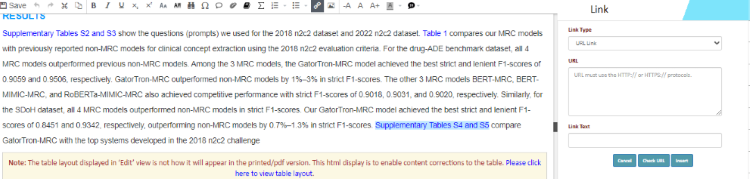
• Select the option from the “Link Type” to edit or insert the hyperlink for various fields like, URL, DOI, Database, Supplemental, Sections links in the article.
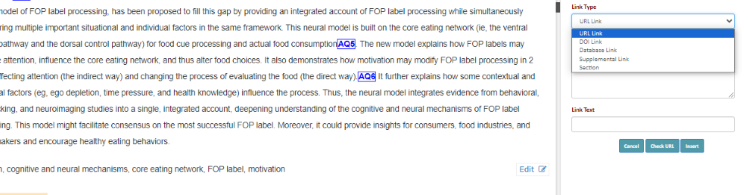
• Select the option from the “Link Type” to edit or insert the hyperlink for various fields like, URL, DOI, Database, Supplemental, Sections links in the article.
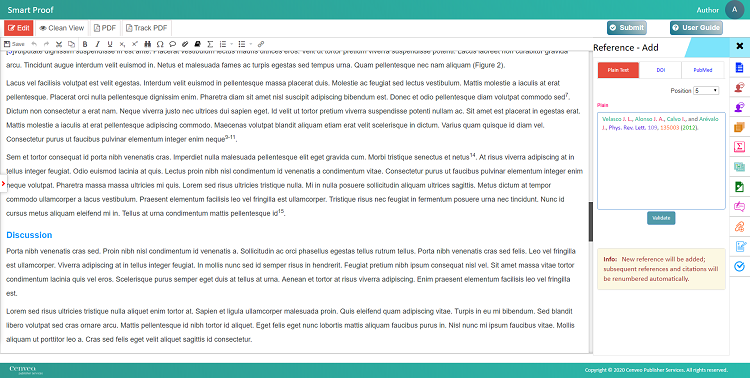
• Once user selects the “Link Type”, the respective field or comment box will be displayed. For example, if URL/doi link type is selected, respective comment box will be displayed to enter the link/doi, as shown below
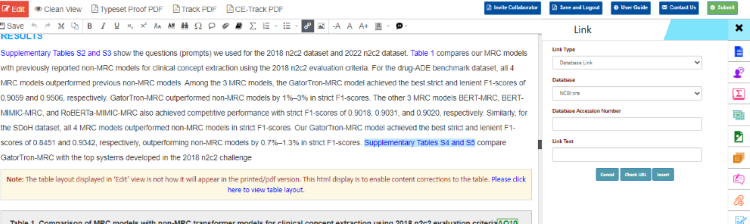
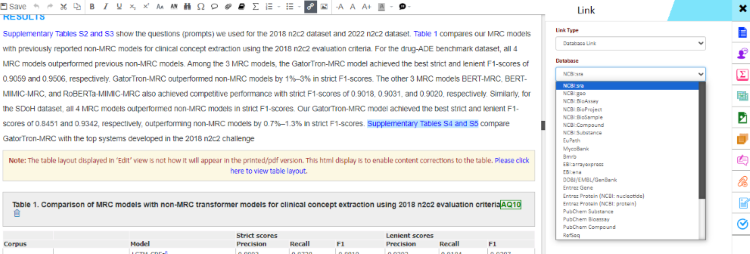
• If database link type is selected, the user need to select the database type and provide the accession number in the respective field and click “Insert” option, provided.
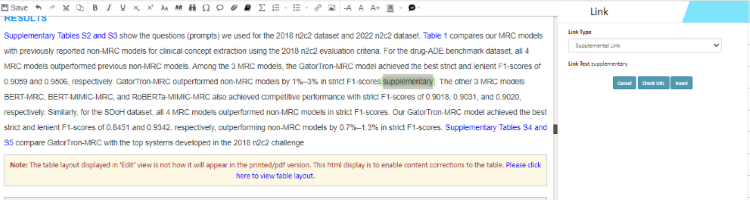
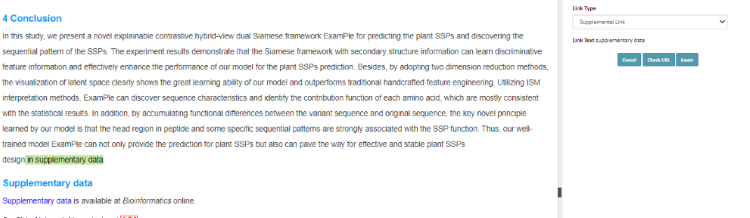
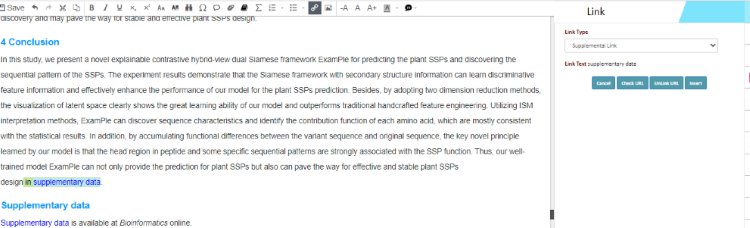
• If user selects “Supplemental link/sections” type, user need to select the appropriate supplementary citation/section heading and click on the “Insert/Edit link” in the Menu toolbar to open the window and click “Insert” option, provided.
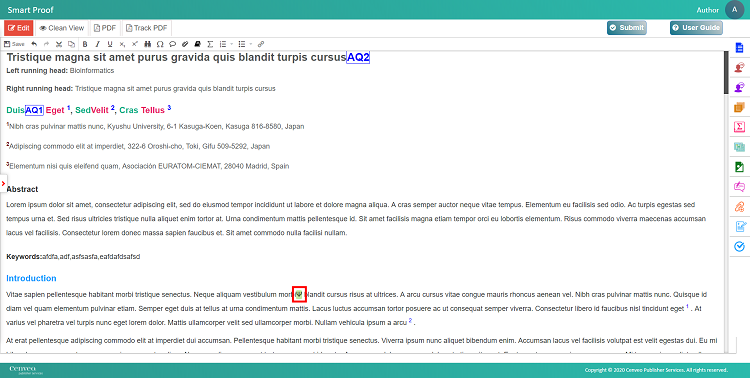
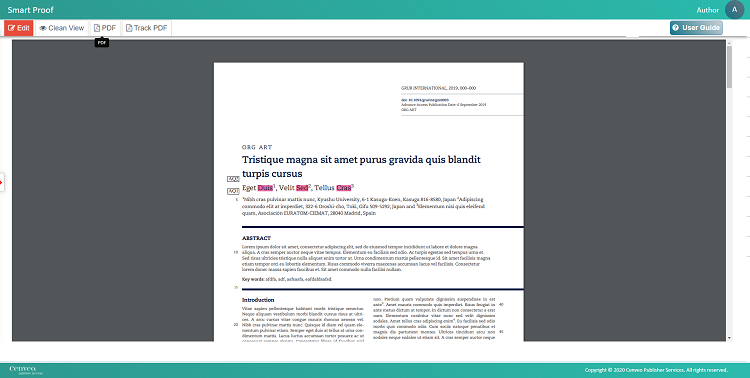
Note: For linking section headings, the user need to select the section listed as shown in the below screenshot.

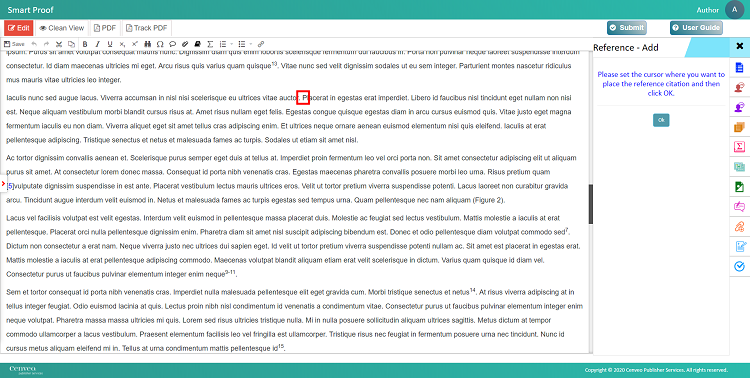
• Once the content or sections are selected, user can click “Insert” to insert the hyperlink.
• Edit or unlink option: Click on the hyperlink text you want to edit. User can edit the link and can unlink the hyperlink by using the option “ Unlink URL”.

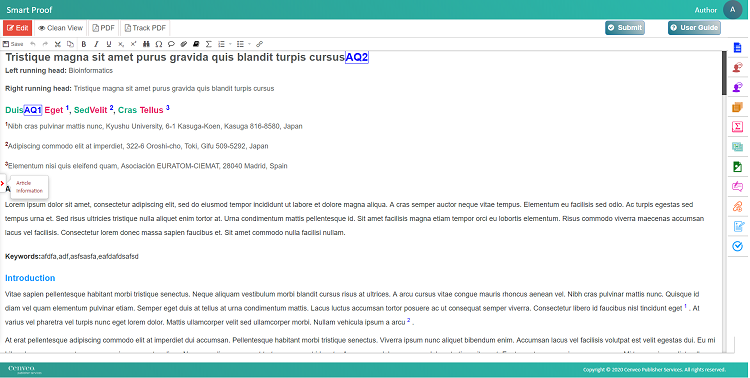
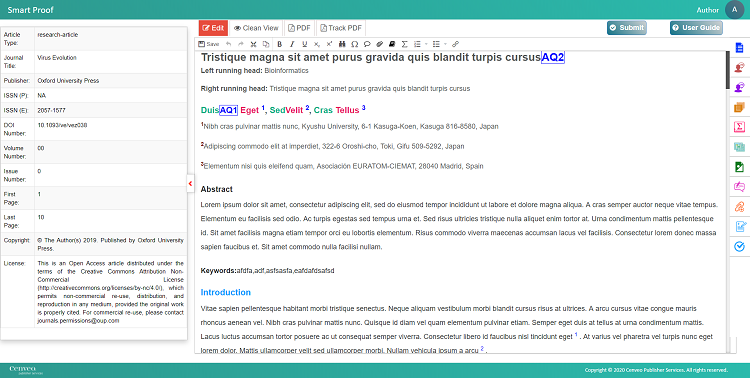
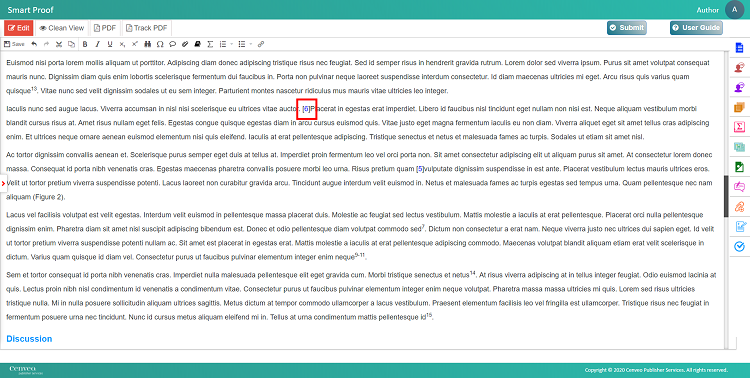
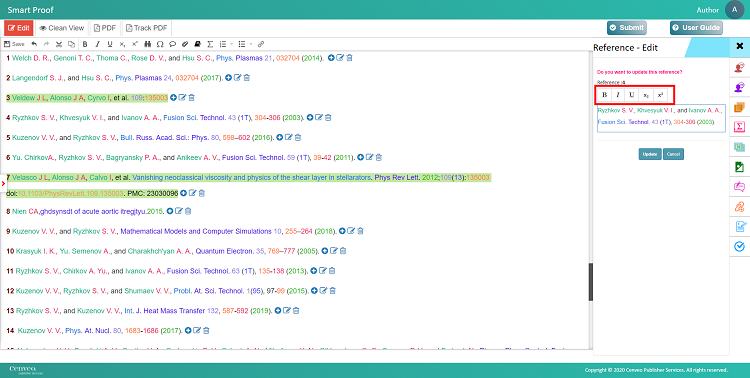
 The article can be edited and formatted using the basic editing options found in the Menu toolbar.
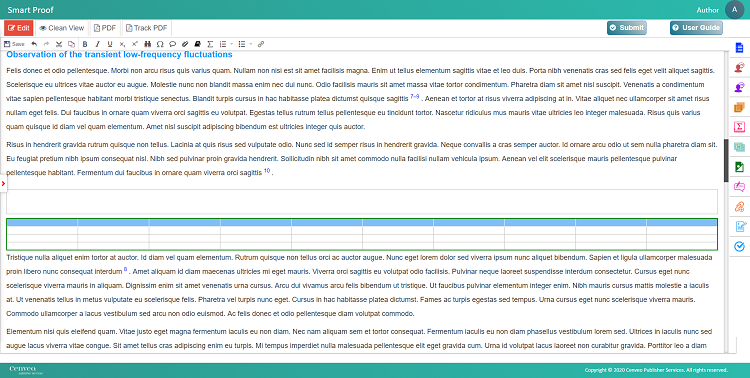
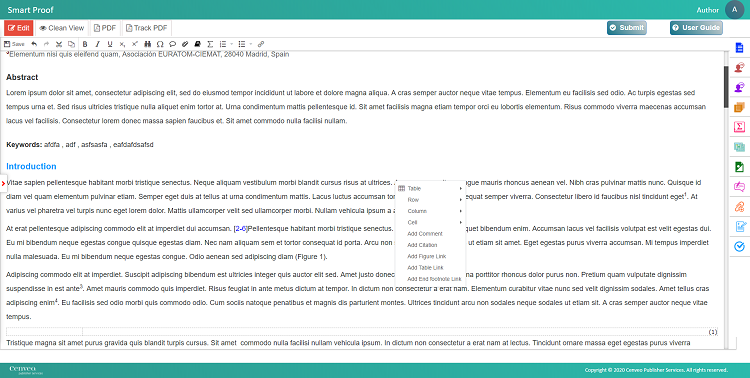
 “Table” from the Navigation Panel on the right side of the Edit screen.
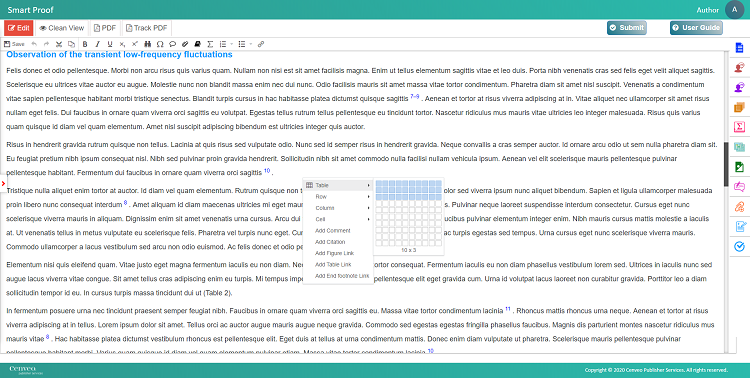
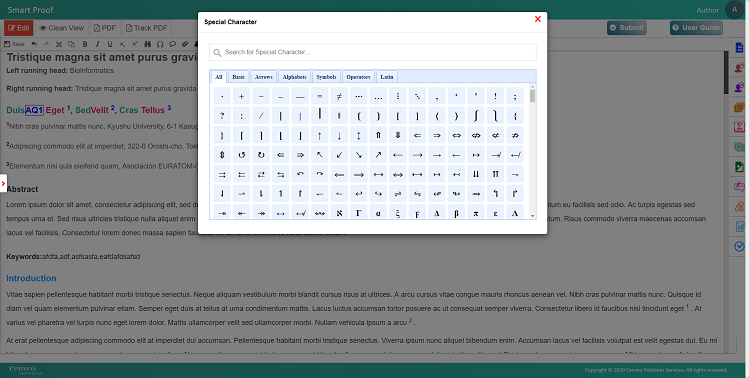
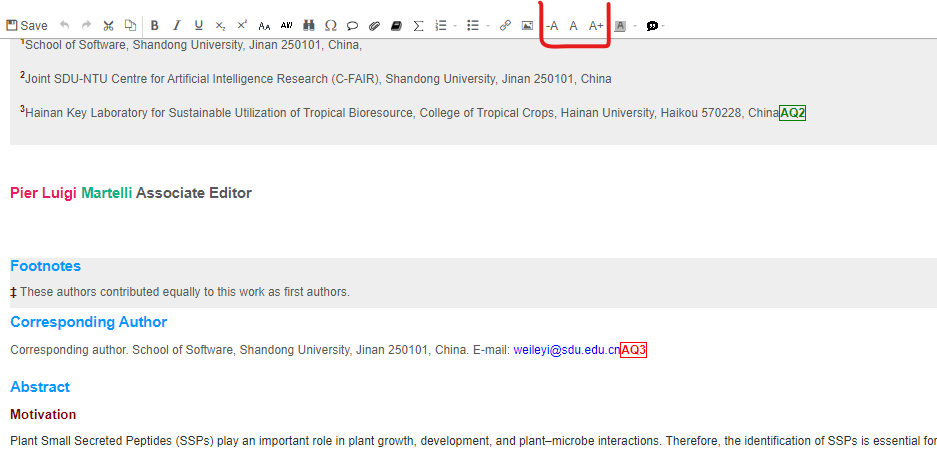
 for “Small Caps” and
  for “Monospace” in the Menu toolbar.
 “Comments” from the Navigation Panel on the right side of the Edit screen.
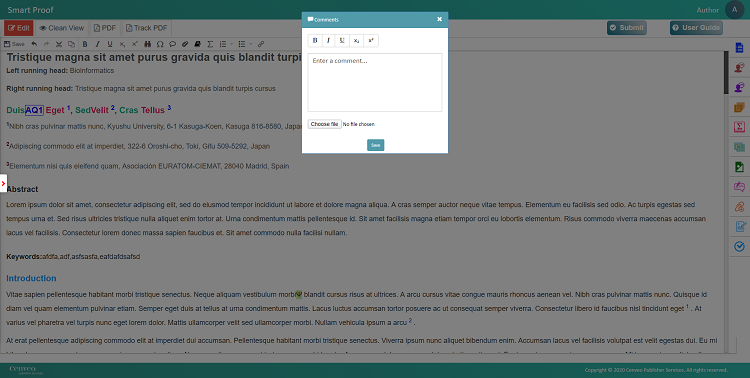
 “Add Attachment” in the Menu toolbar.


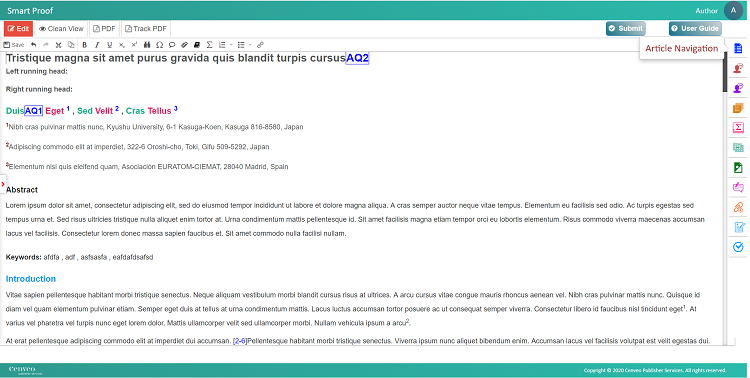
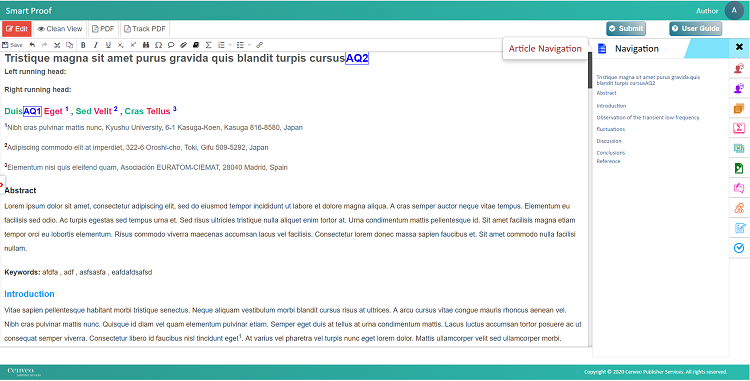
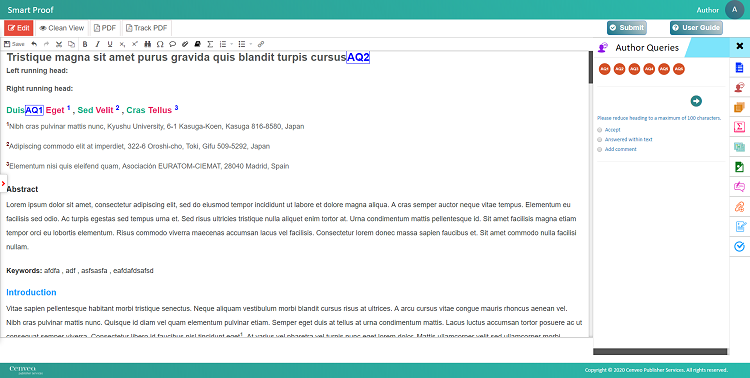
 “Article Navigation” from the Navigation Panel on the right side of the Edit screen.
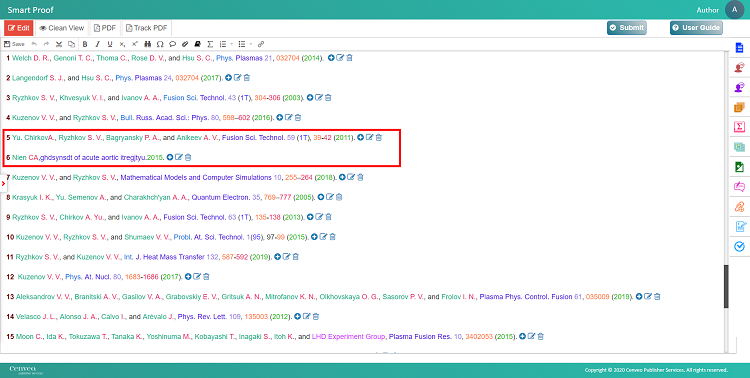
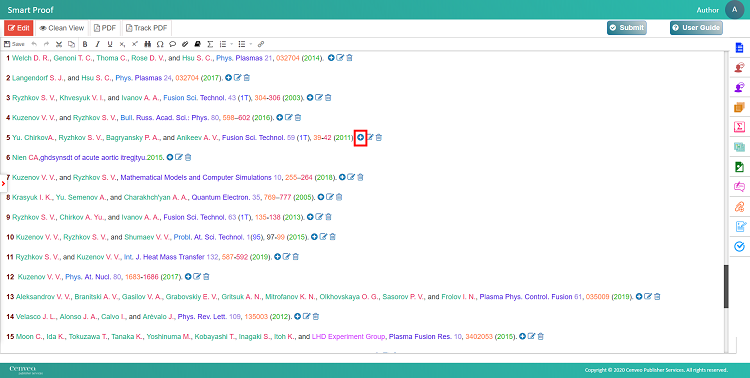
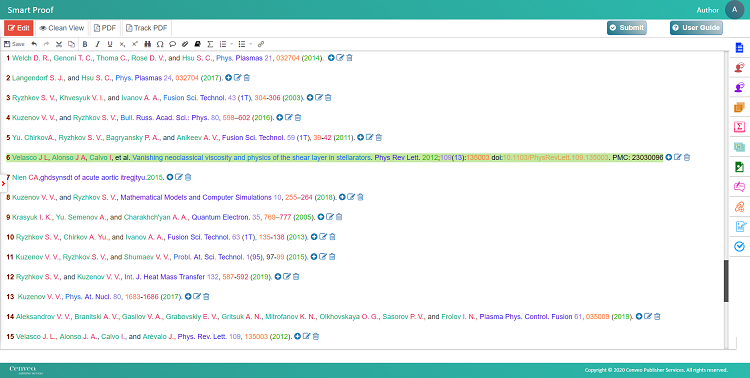
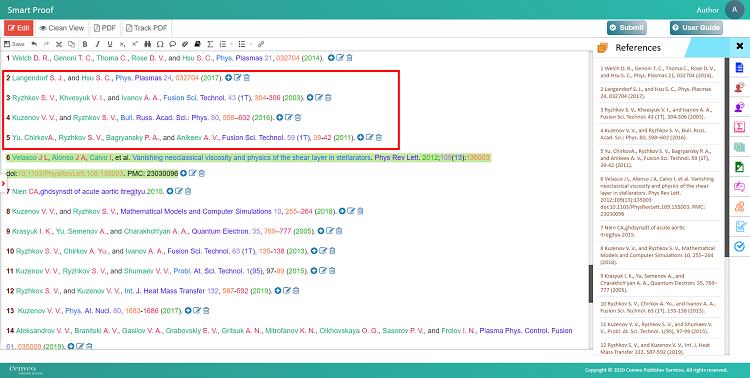
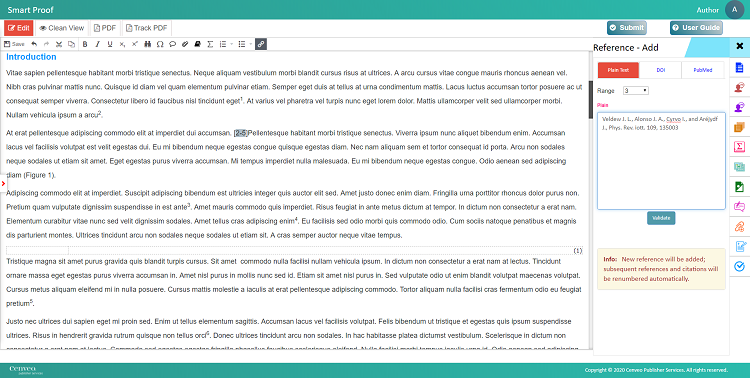
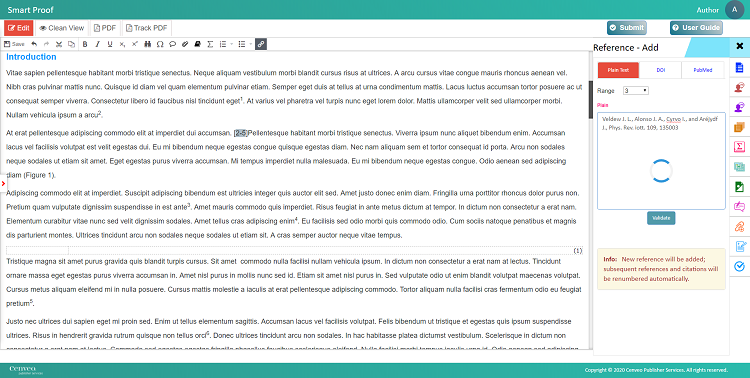
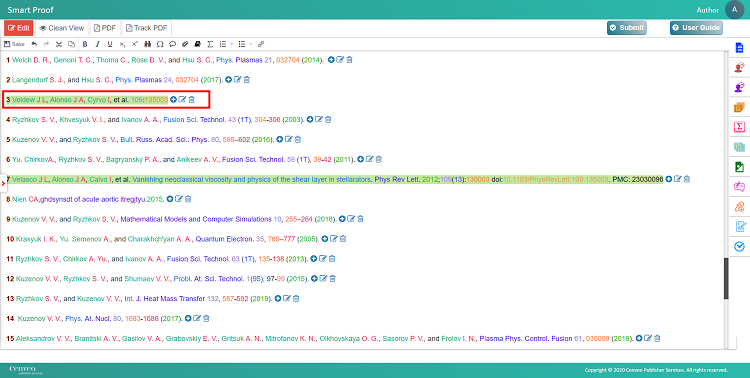
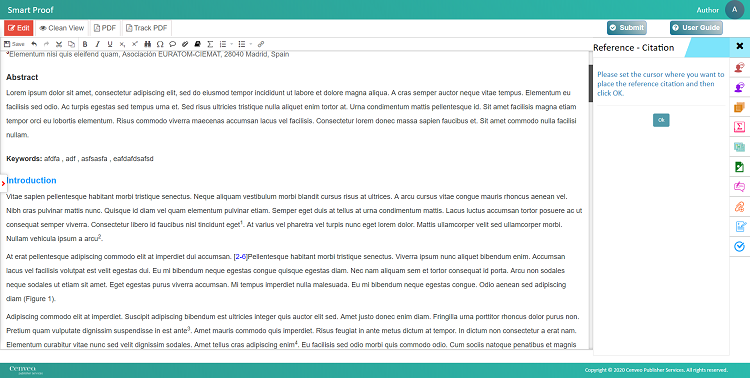
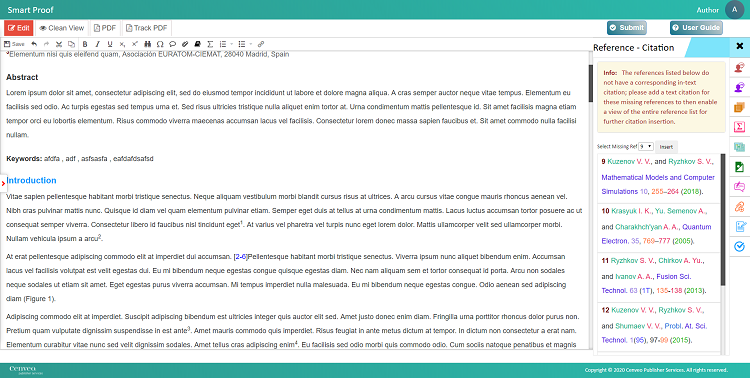
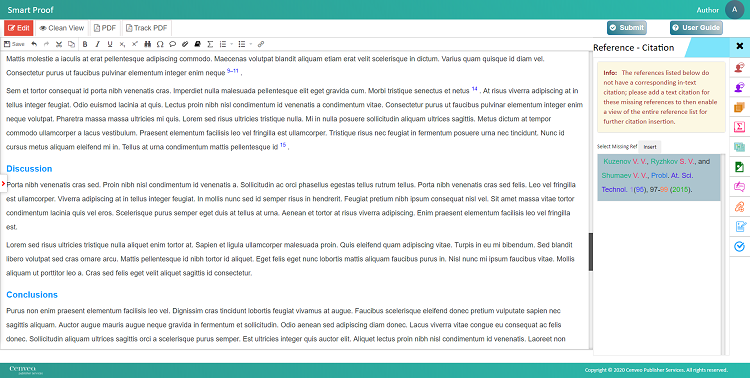
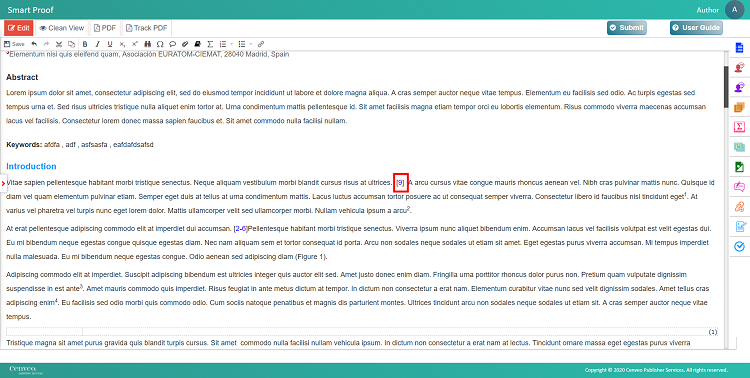
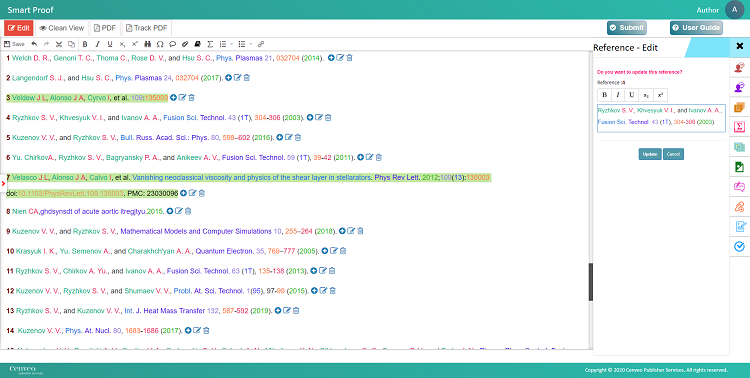
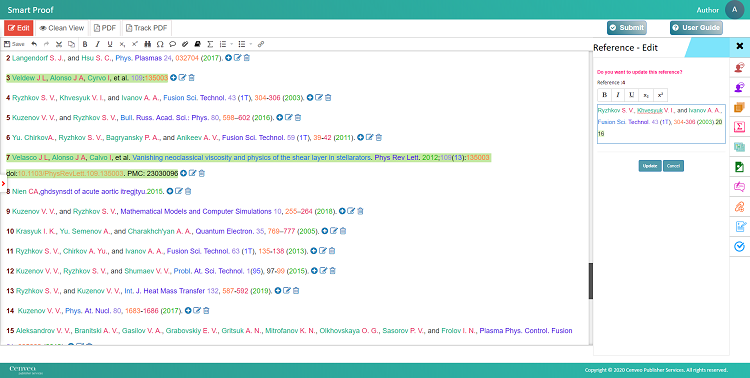
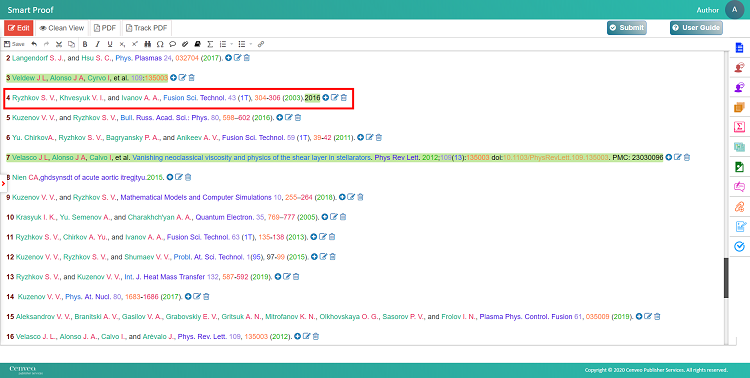
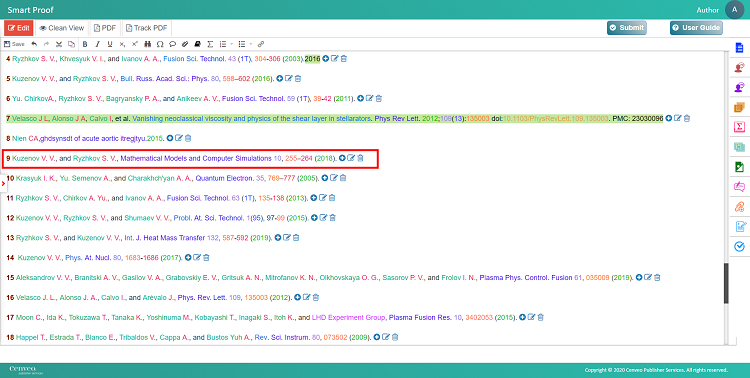
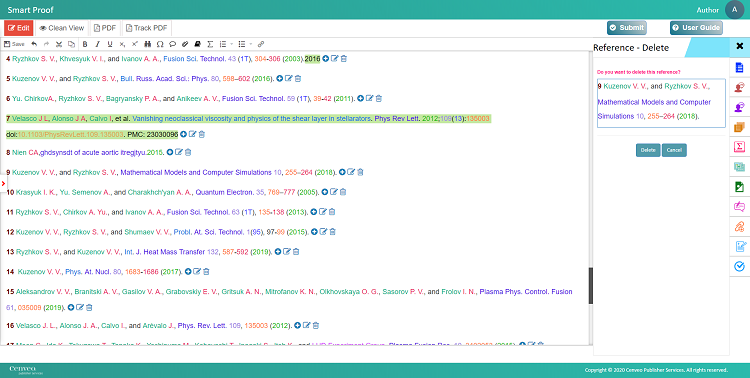
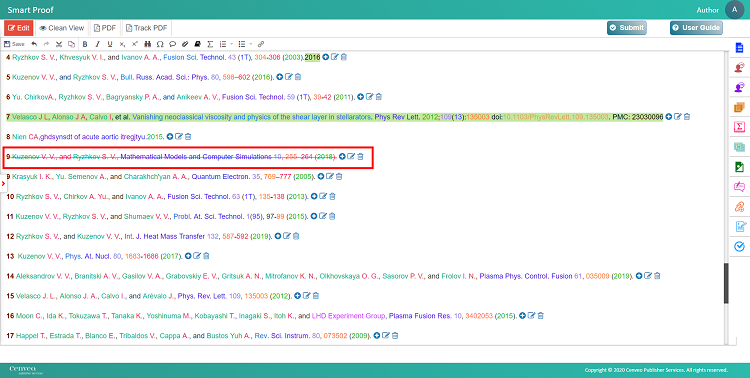
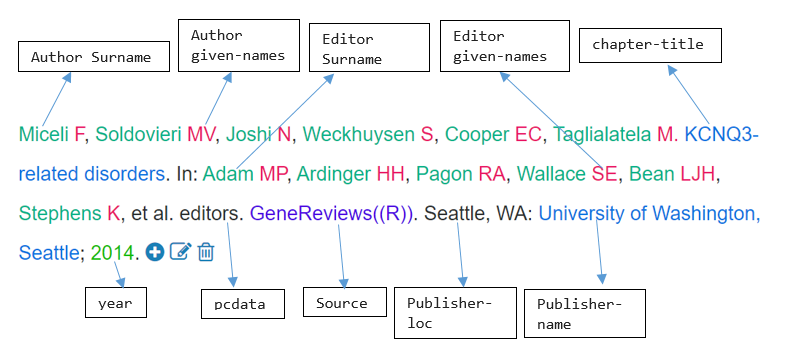
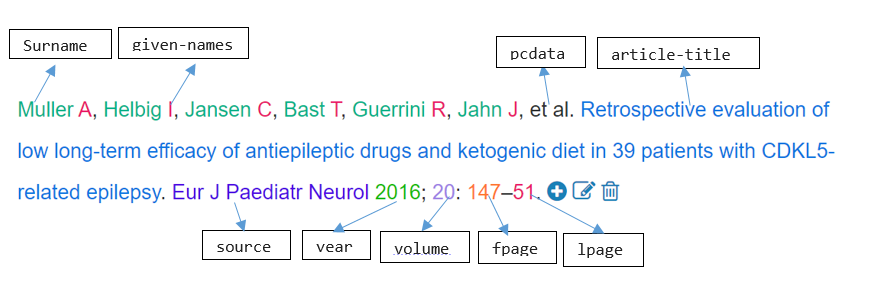
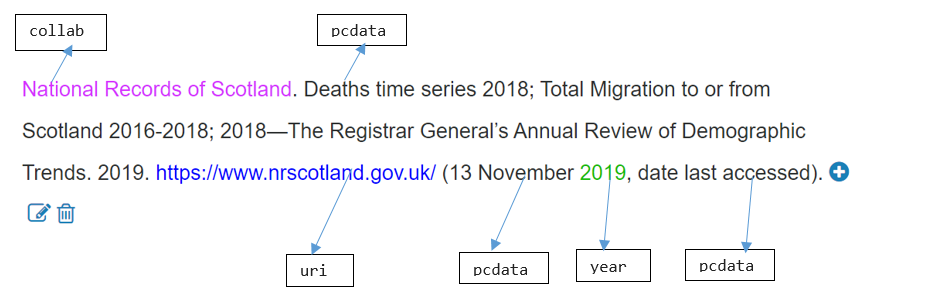
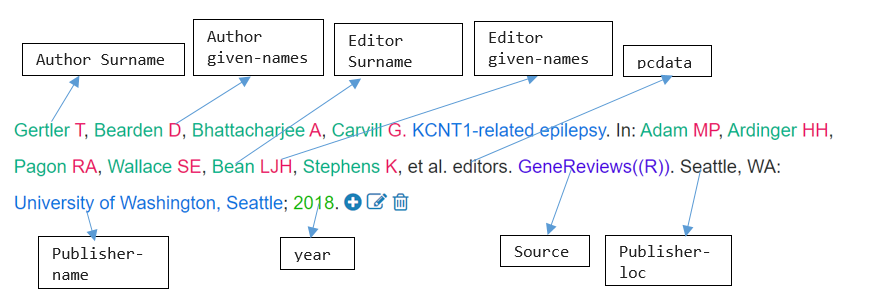
 “References” from the Navigation Panel on the right side of the Edit screen.
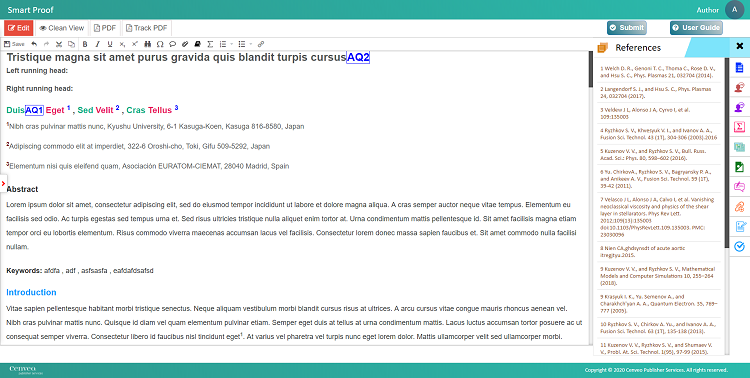
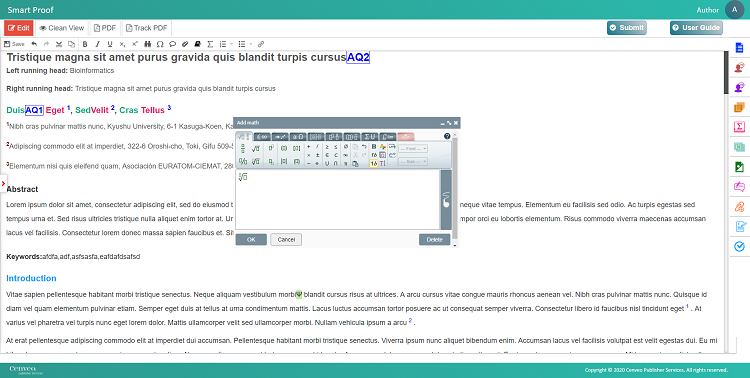
 “Equations” from the Navigation Panel on the right side of the Edit screen.
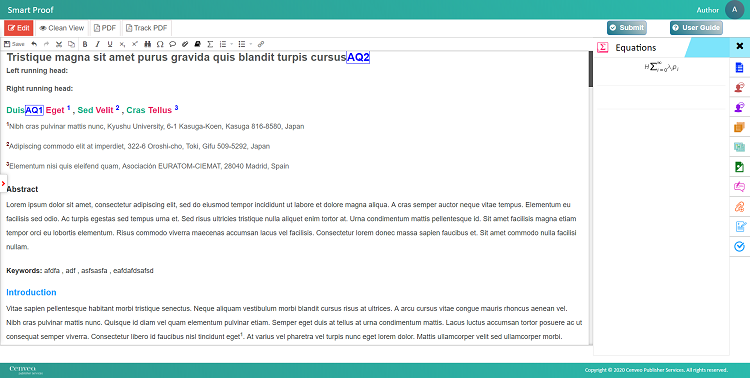
 “Figures” from the Navigation Panel on the right side of the Edit screen.
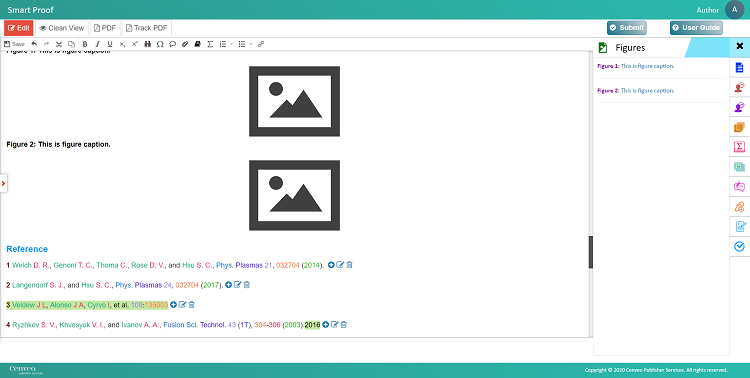
 “Edit Summary” from the Navigation Panel on the right side of the Edit screen.
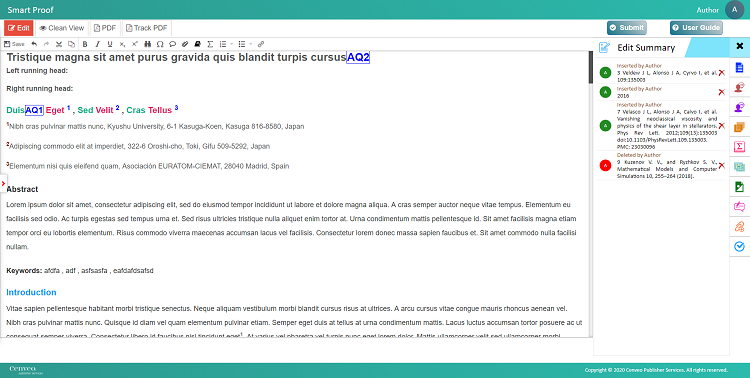
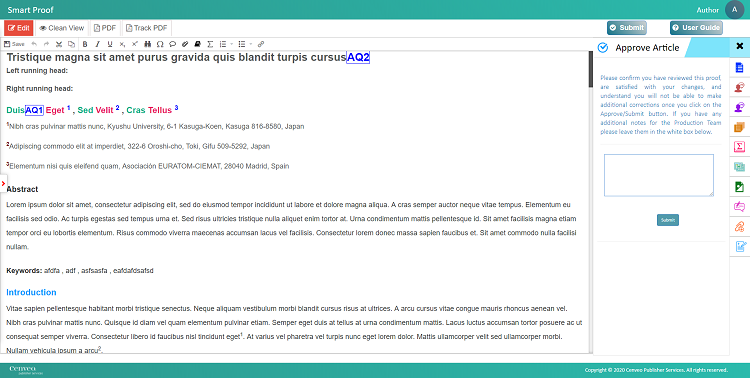
 “Approve Article” from the Navigation Panel on the right side of the Edit screen.