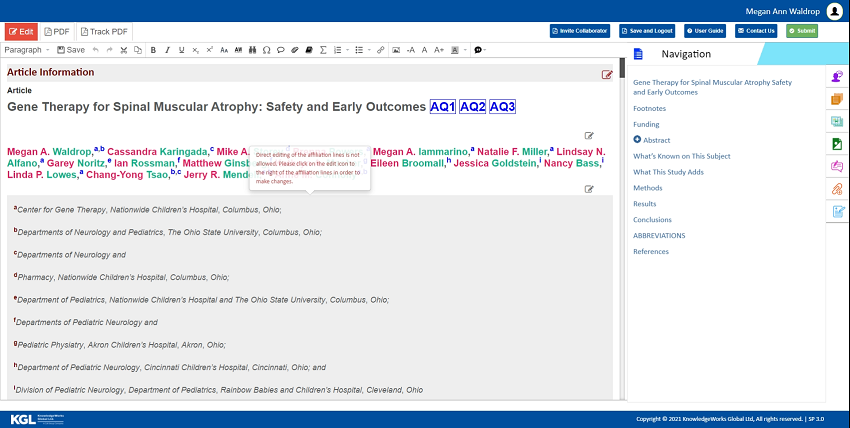
Note: A new author can be added without an affiliation being linked. An informational dialog message will appear indicating that the affiliation has not been linked. Once the new affiliation is created you will be able to link it to the author.
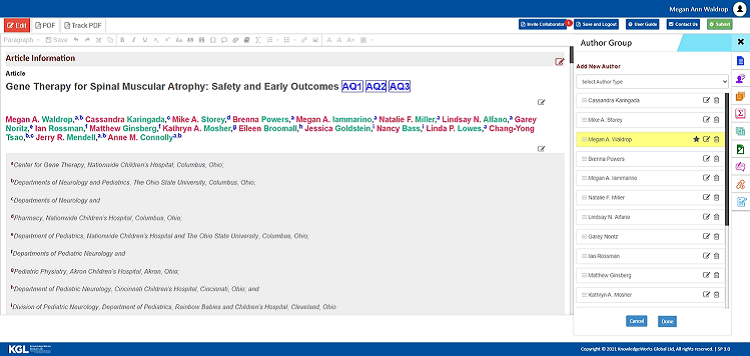
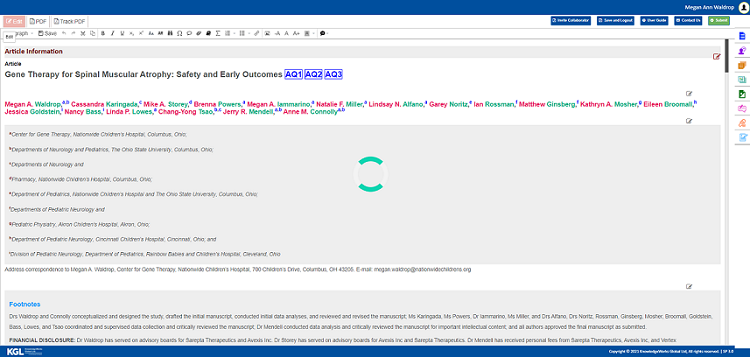
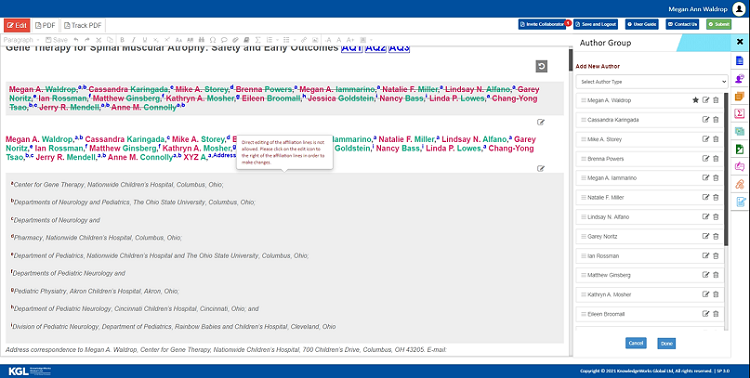
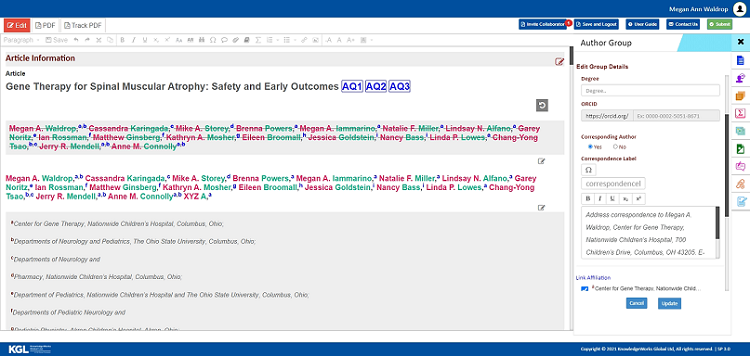
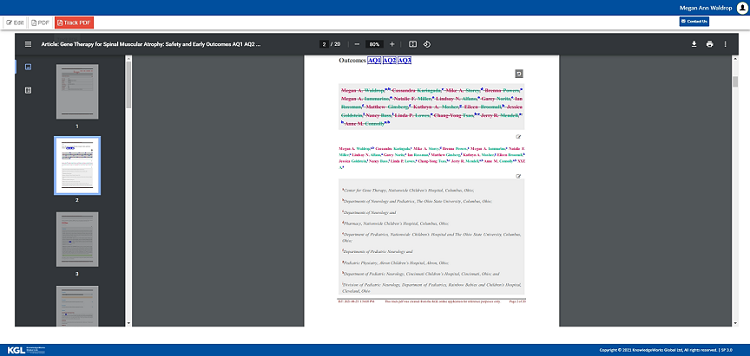
• Click the Edit icon  on the right corner of the author group.
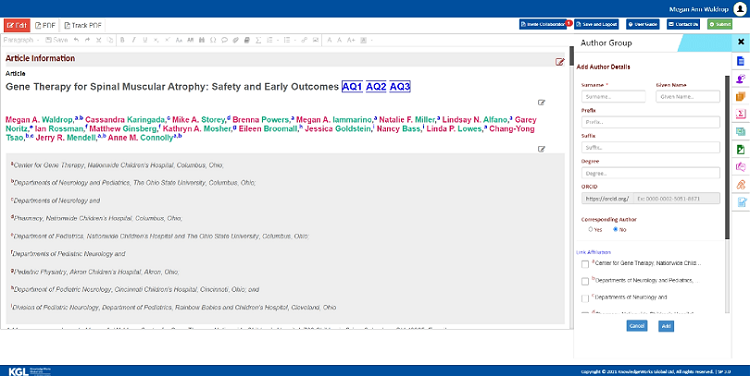
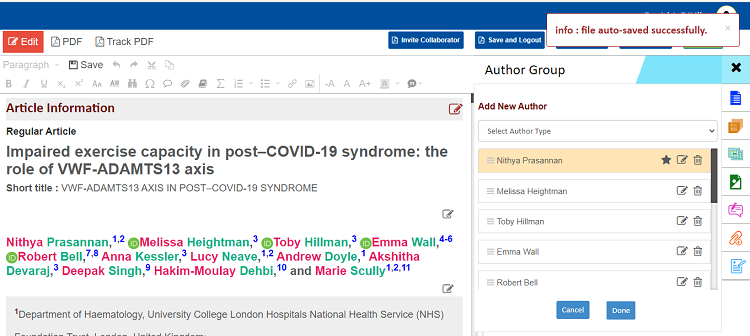
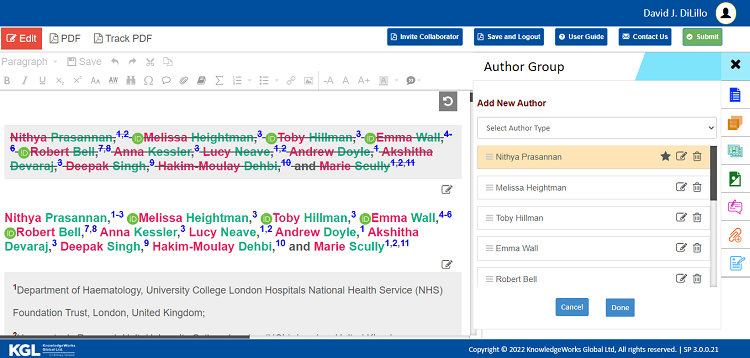
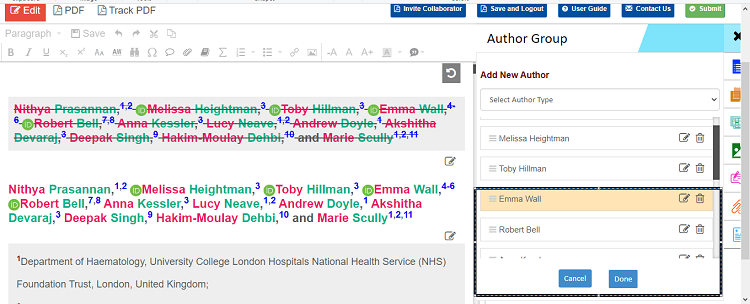
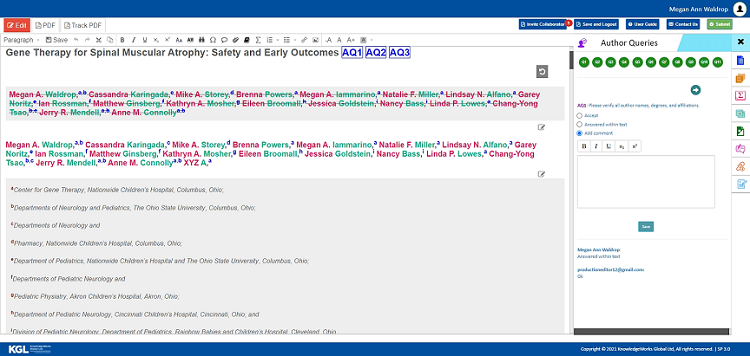
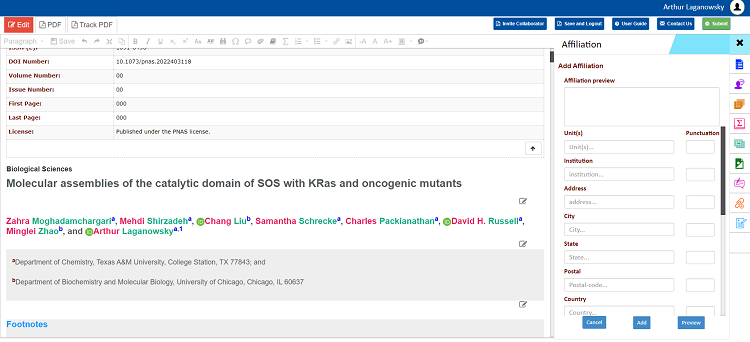
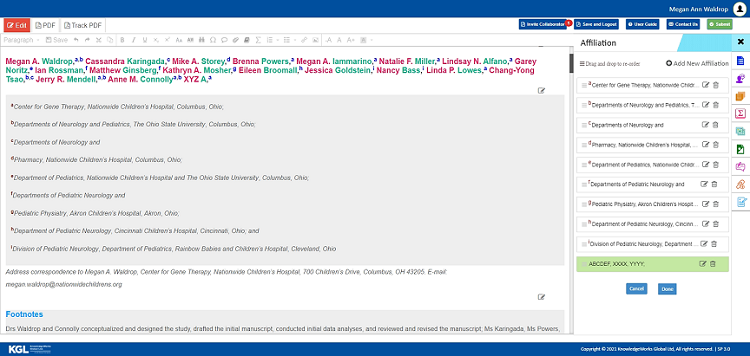
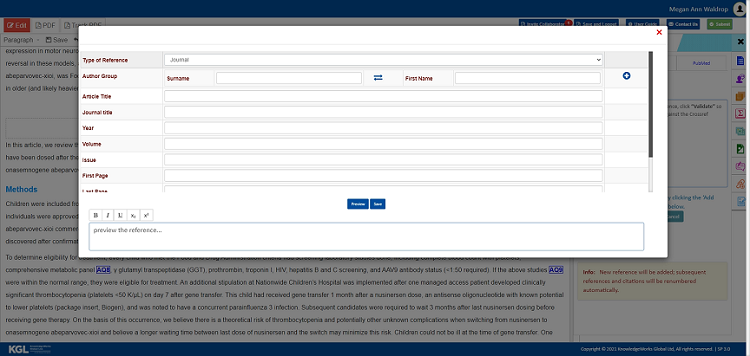
• On the right side of your screen, you have an option to add new authors by selecting the author type list provided in the list, as shown below.

• Once after selecting the author type, you can add and select the authors details in the respective fields provided and click the Add button to add the new author in the author group, as shown below.
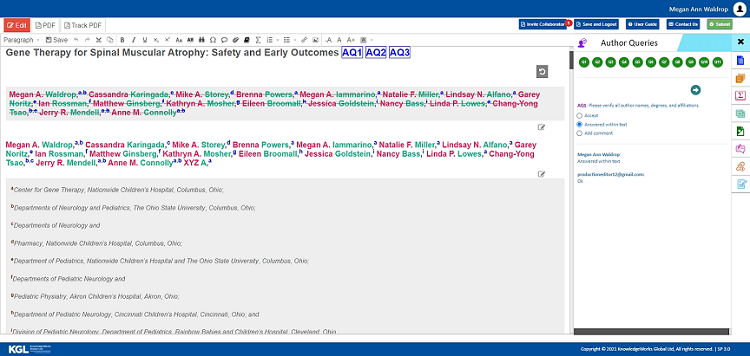
• In the author group list,  icon represents the Corresponding author.
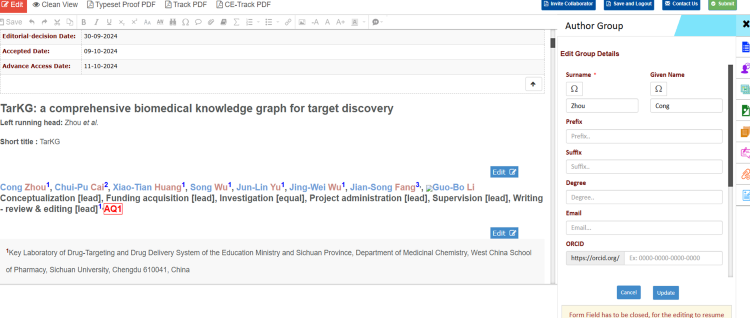
• Click the icon to edit or update the details of a particluar author. Then click the update option.
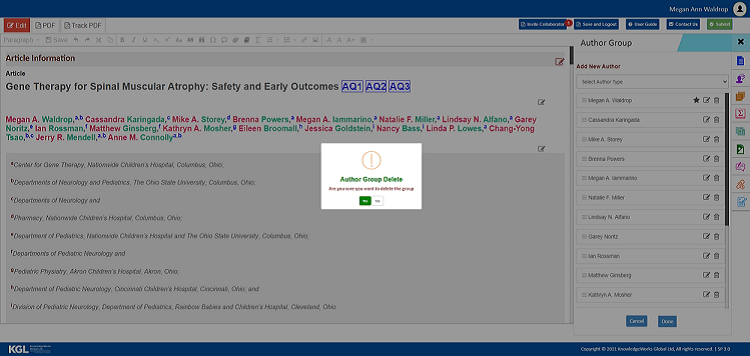
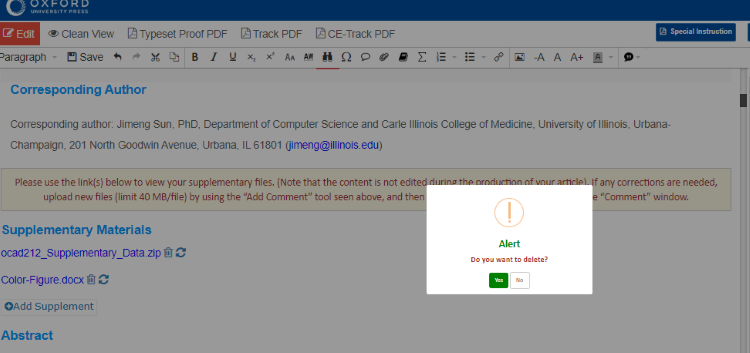
• Click the  icon to remove the author from the author group by clicking Yes or No option.
• Click the drag icon  to re-order the author in the author group by dragging and placing the author accordingly.
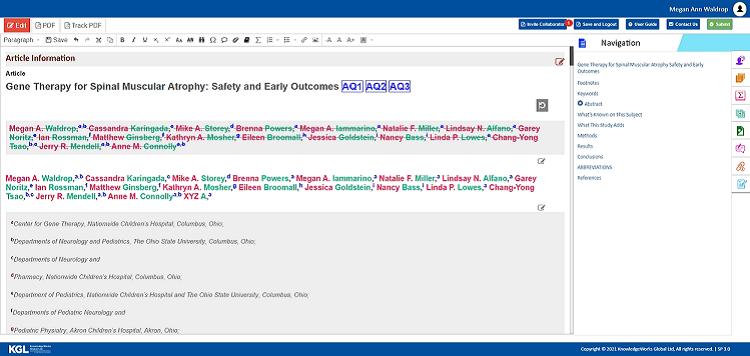
• Once re-order is done, re-ordered author will be shown in yellow highlight. Confirm re-ordering by clicking Done button at the end.
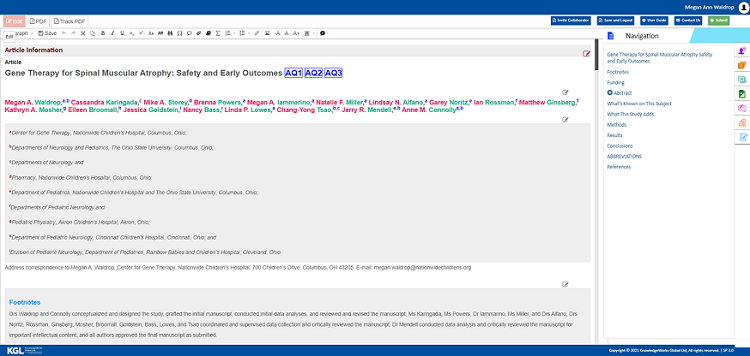
• After making changes in the author group, click the Done button, changes will be visible in the article author group with reset icon in the right corner of the author group, as shown below.
• Once again, we can make edit or reset the author group using  icons, if required.
• Warning message to author group and affiliation section —
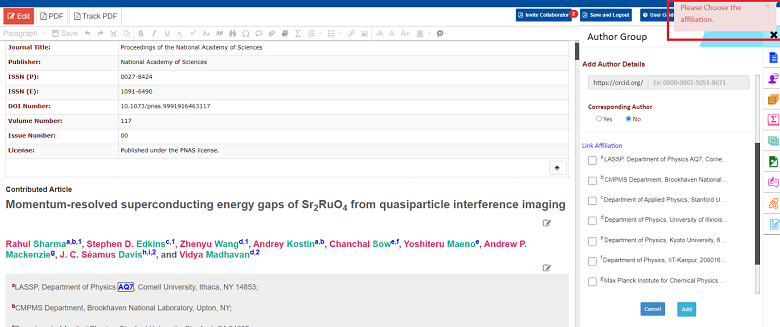
Enabled the WARNING POP UP MESSAGE feature to link the author if new affiliation has been inserted in the affiliation section, vice versa, for in author group, if new author has been inserted, it is mandatory to link the author to the affiliation.
WARNING POP UP MESSAGE (Please choose the affiliation) feature to link the affiliation
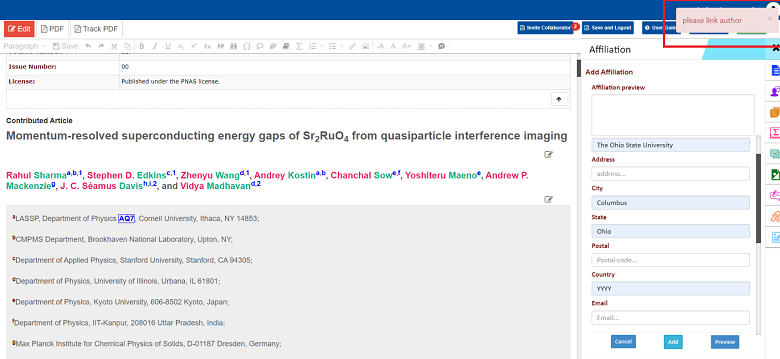
WARNING POP UP MESSAGE (Please link the author) feature to link the author
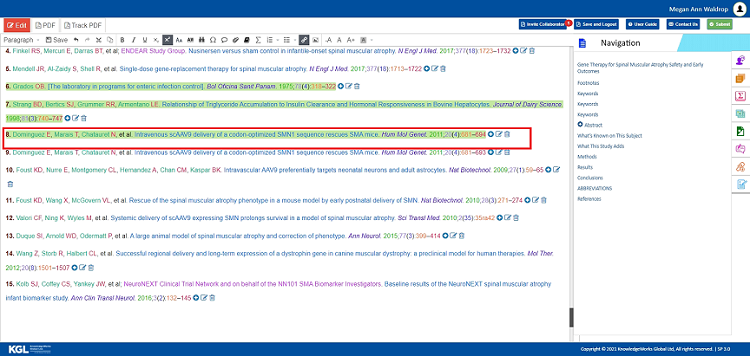
Range citation/renumbering process- User can add/edit or delete the numeric range citations in author group section as well as in affiliation section. User can also renumber the range citation if required.
Addition/deletion of range citation
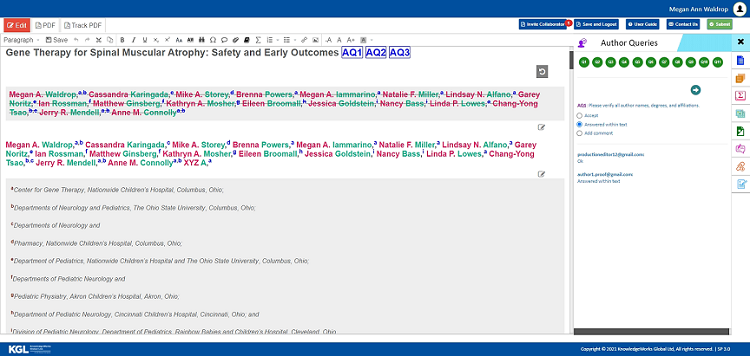
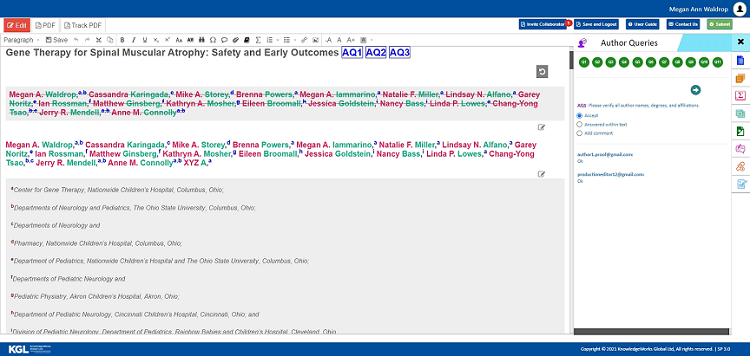
• Click the Edit icon on the right corner of the author group section.
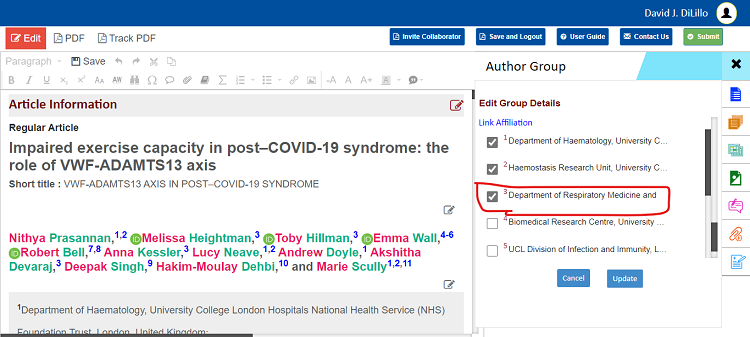
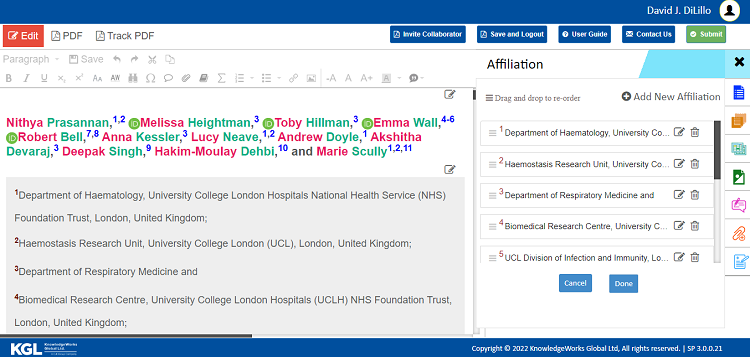
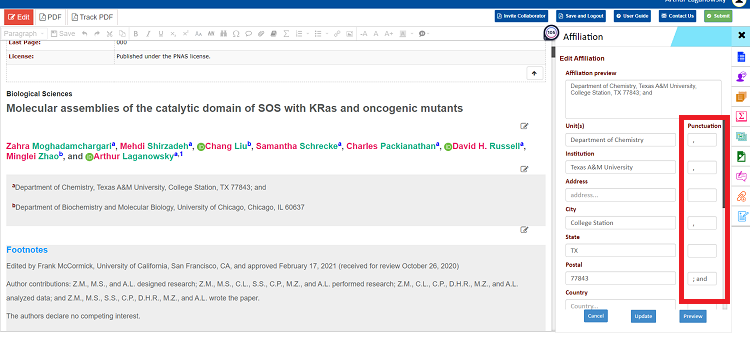
• On the right side of your screen, click the icon to edit or update the details of a particular author. Here you have an option to add/link new affiliation by selecting the affiliations provided in the list to the author, as shown below.

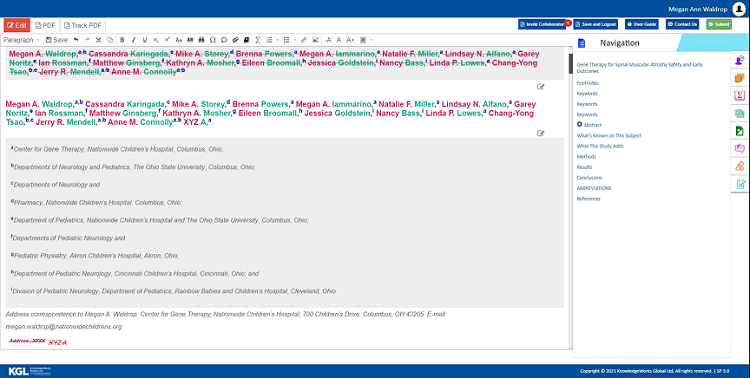
• Once after selecting the affiliation, click the Update button to add the new affiliation designator to the author in the author group, as shown below.
• Confirm the correction by clicking Done button at the end.
• Changes will be visible in the article author group with reset icon in the right corner of the author group, as shown below.
• Once again, we can make edit or reset the author group using icons, if required.
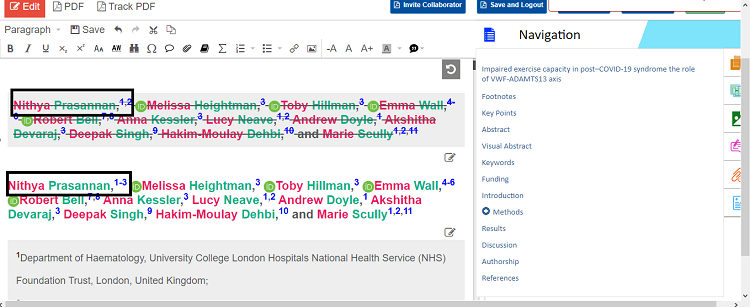
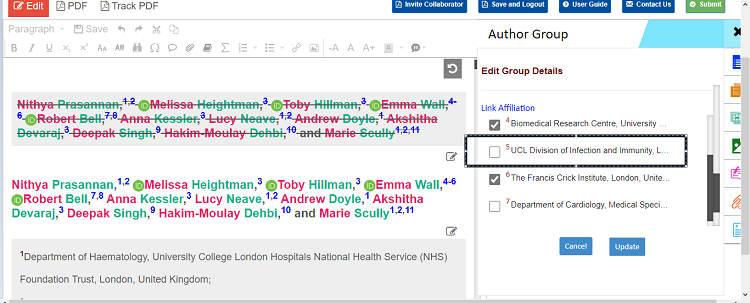
• User can also have an option to remove the affiliation designator for the particular author by selecting the affiliations linked to the author from the list by clicking the icon provided to each author, as shown below.
(Here for example, affiliation 3 has been removed from citation range from the author)
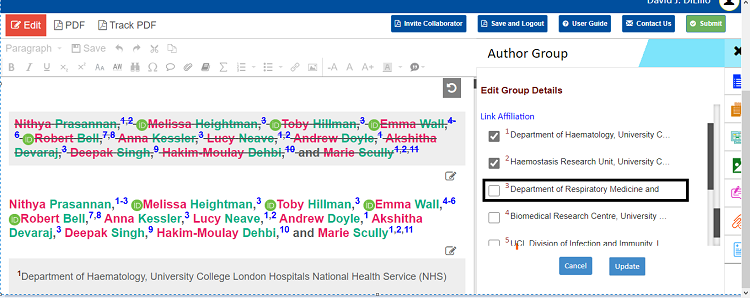
• Once after selecting the affiliation to remove, click the Update button and then click Done button to confirm the correction, as shown below.
• Changes will be visible in the article author group with reset icon in the right corner of the author group, as shown below.
Before:
After:
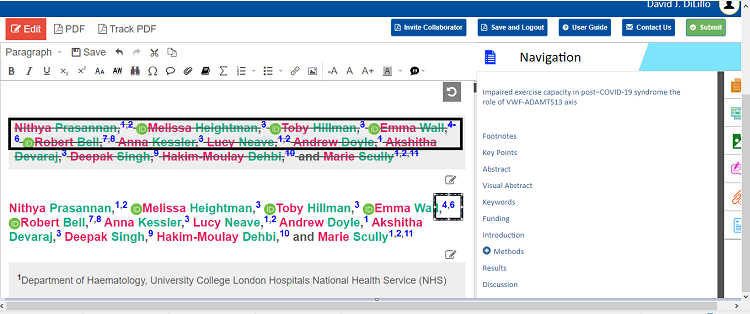
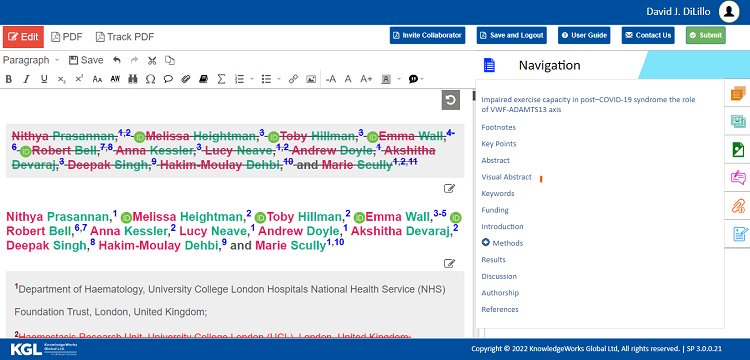
• User can remove the affiliation from the range citation from the author. By removing one of the affiliation designators from the author, respective designators will be ranged automatically as shown below.
(Here for example, from affiliation range 4-6, we have removed affiliation 5 from the citation range from the author)
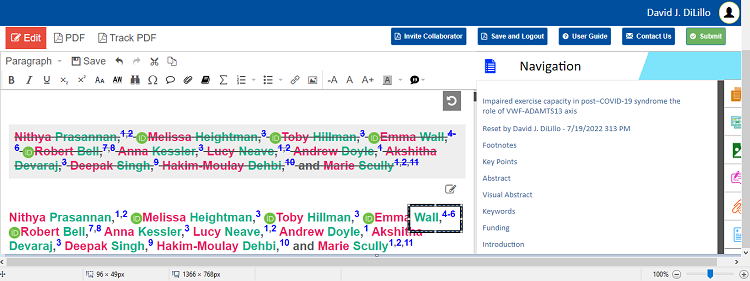
• Once after selecting the affiliation to remove, click the Update button and then click Done button to confirm the correction, as shown below
• Changes will be visible in the article author group with reset icon in the right corner of the author group, as shown below
Renumbering of range citation:
• Click the drag icon to re-order the author designators in the author group by dragging and placing the affiliation in the affiliation section, accordingly.
(Here for example, we have re-ordered the affiliations 3 & 4 in the affiliation section)
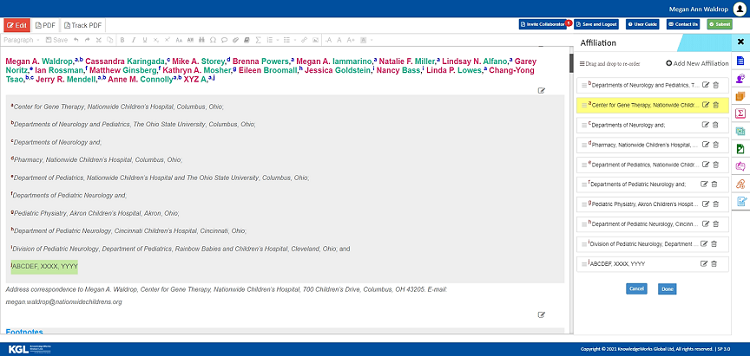
• Once re-order is done, re-ordered affiliation will be shown in yellow highlight. Confirm re-ordering by clicking Done button at the end.
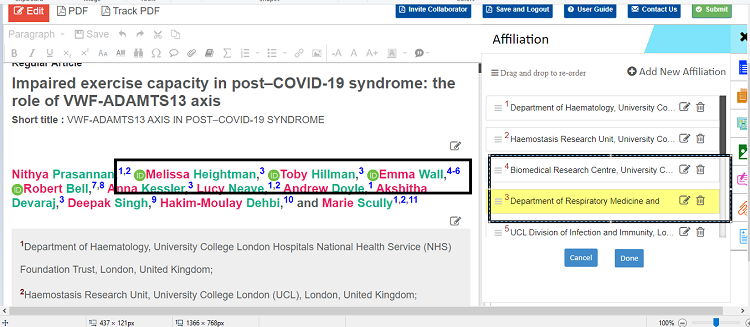
• Once re-order is done, re-ordered affiliation designators and respective ranges in author group will be visible in the article author group with reset icon in the right corner of the author group, as shown below.
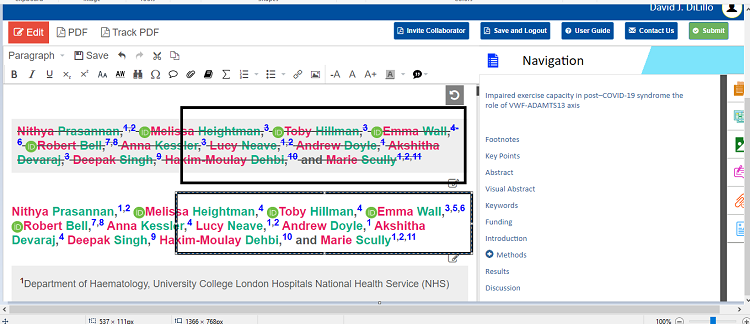
• Renumbering of affiliation designators & renumbering of citation ranges can be done by deleting/inserting whole affiliation in the affiliation section. For example, click the icon to remove the particular affiliation from the affiliation section by clicking Yes or No option.
(Here, we have removed the affiliation 2 from the affiliation section)

• After making changes in the affiliation section, click the Done button, changes will be visible in the article author group with reset icon in the right corner of the author group, as shown below. Here we can see the affiliations have been renumbered after removing the whole affiliation 2 from the affiliation section.

 to save your changes.
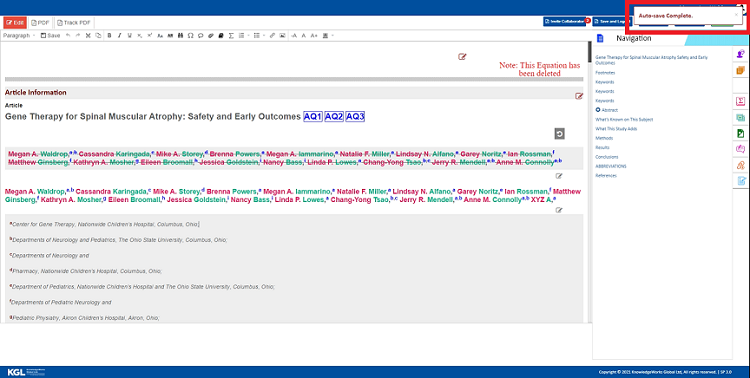
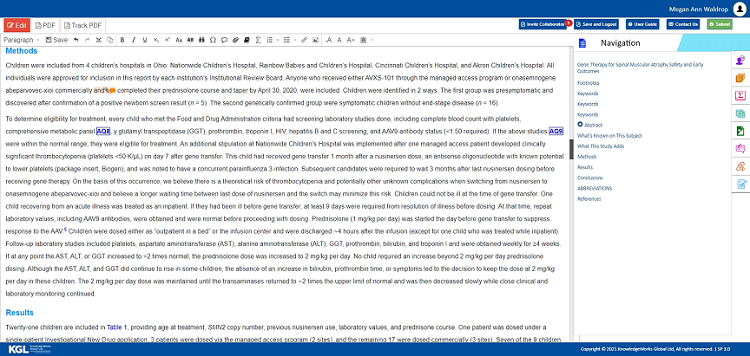
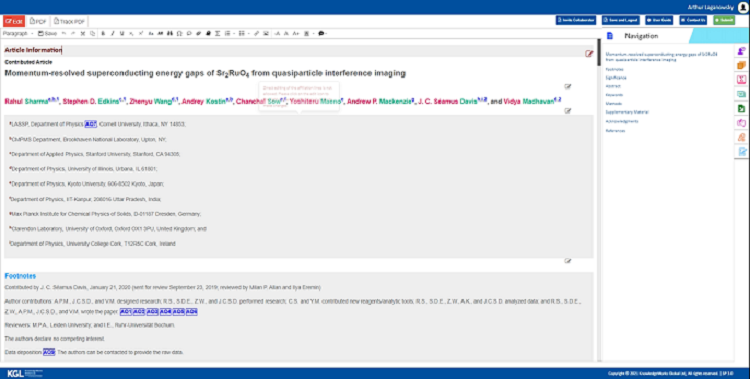
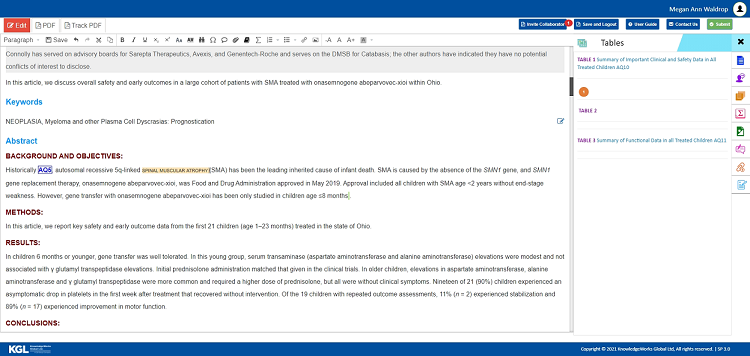
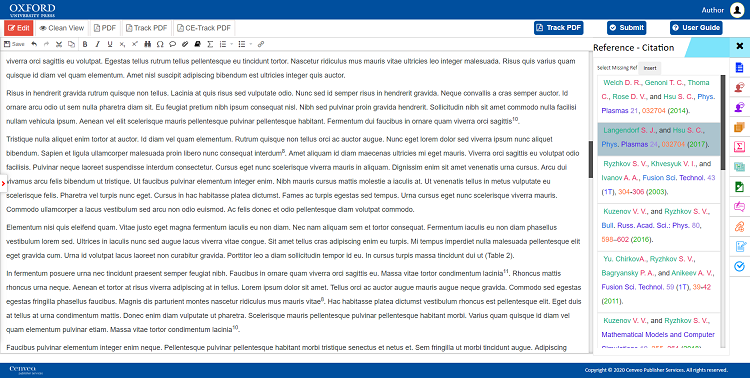
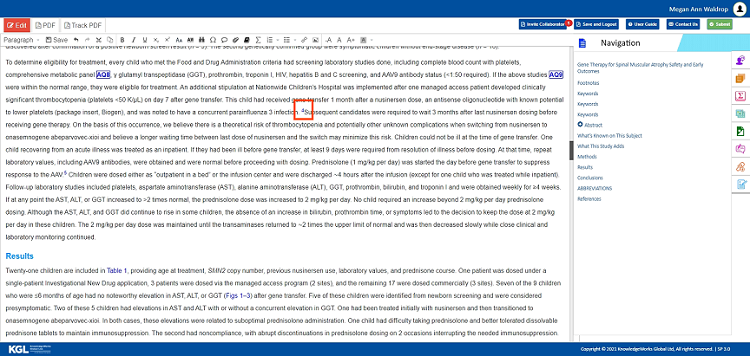
 The article can be edited and formatted using the basic editing options found in the Menu toolbar.


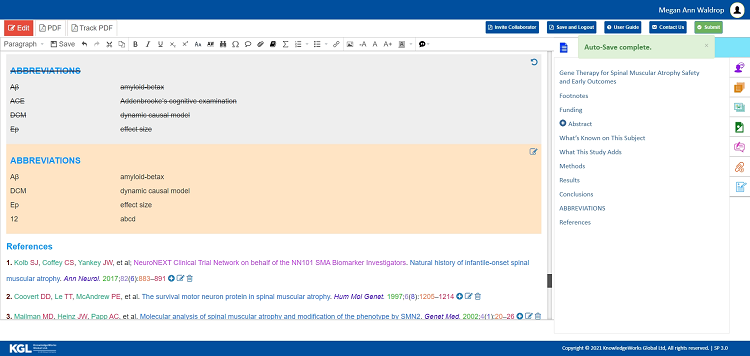
 “Article Navigation” on the right side.
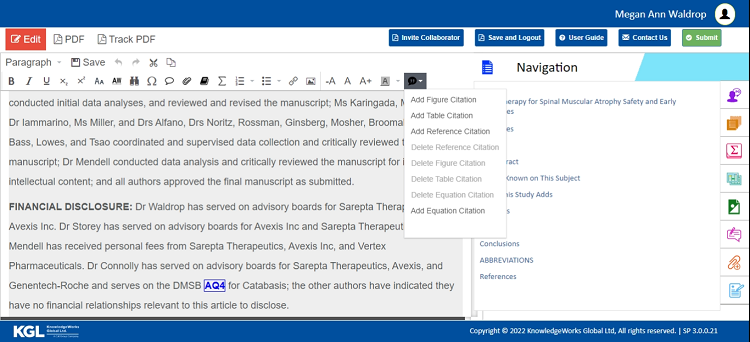
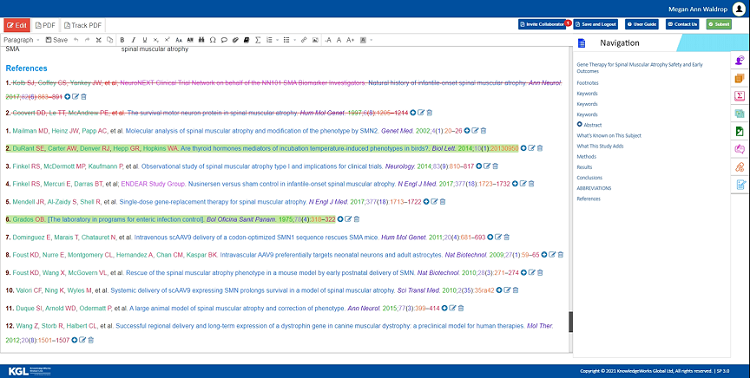
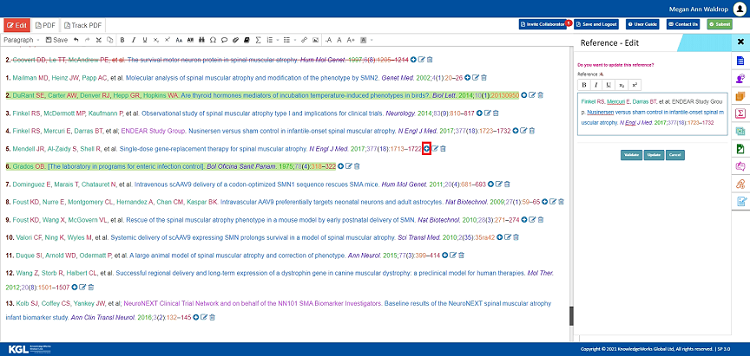
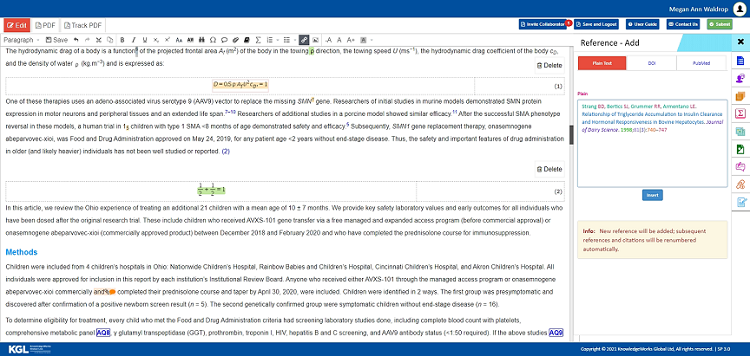
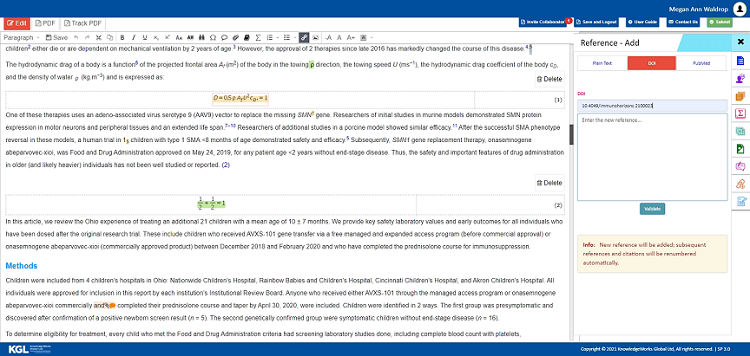
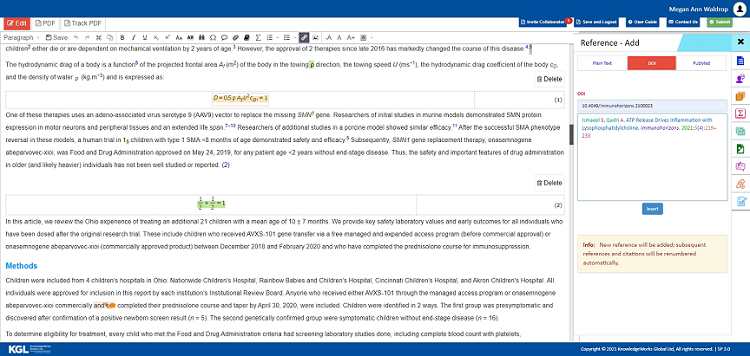
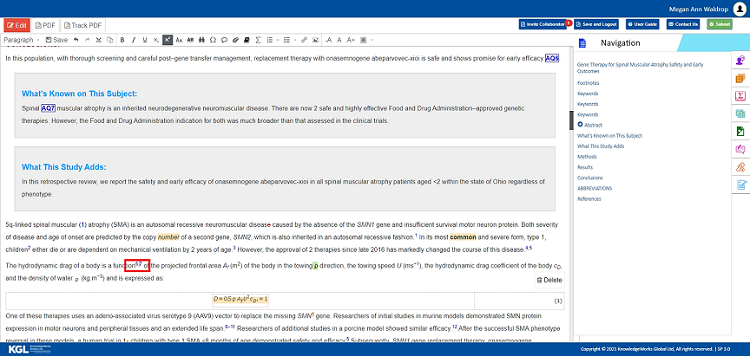
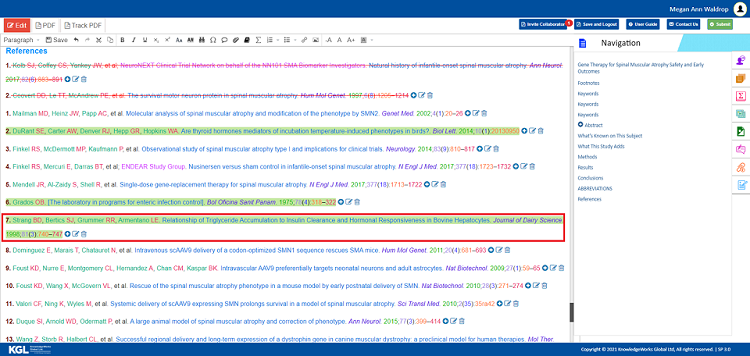
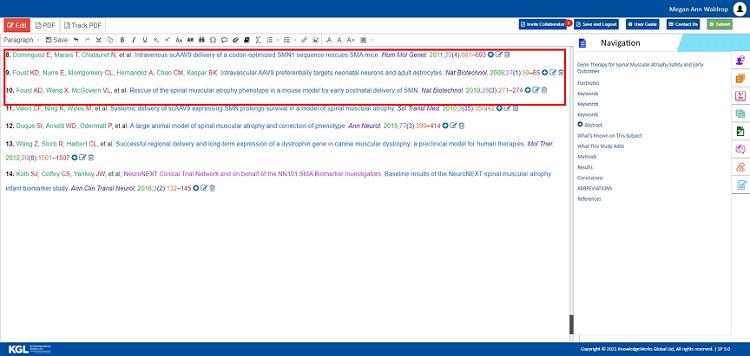
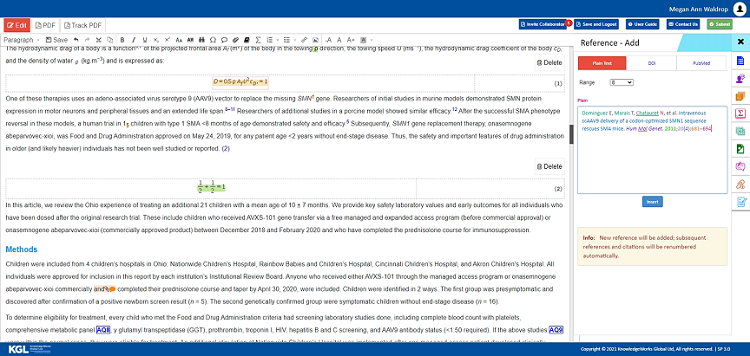
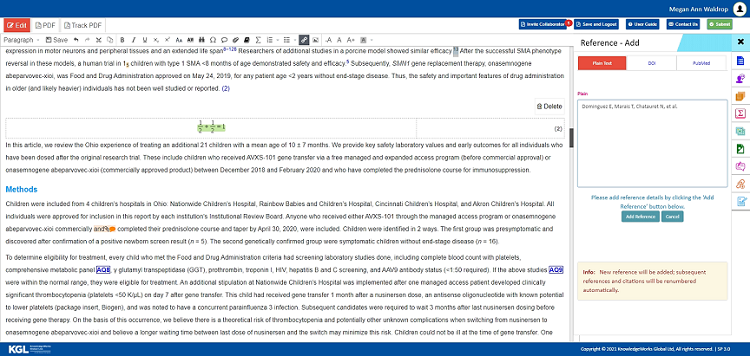
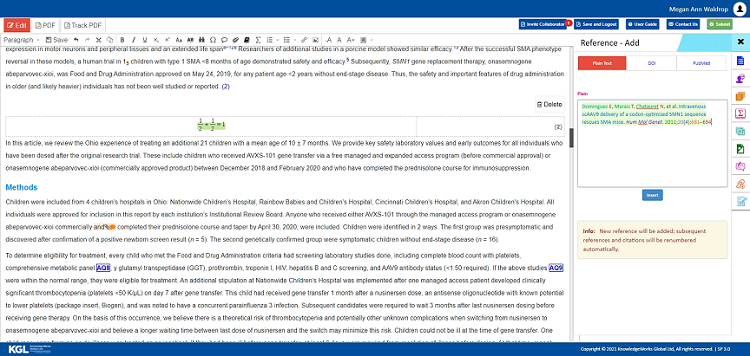
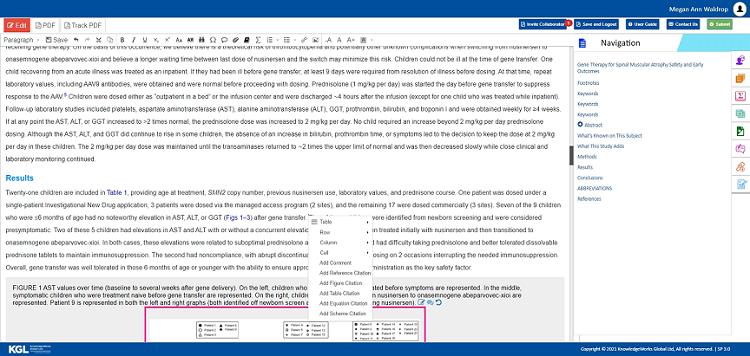
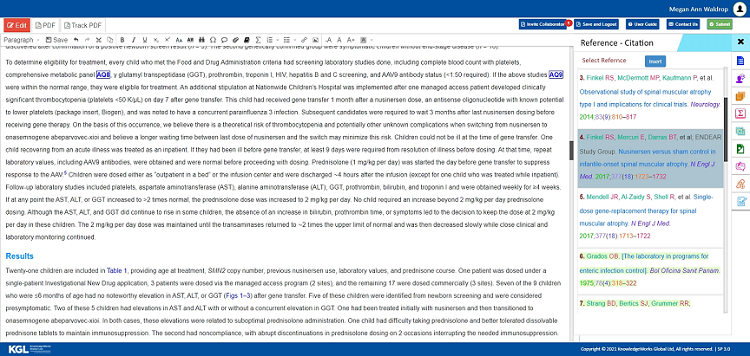
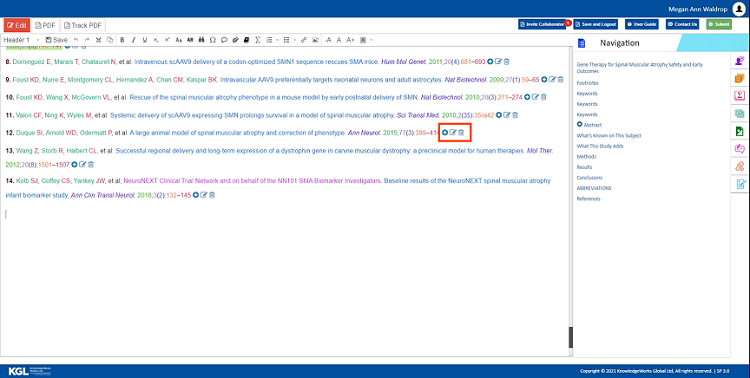
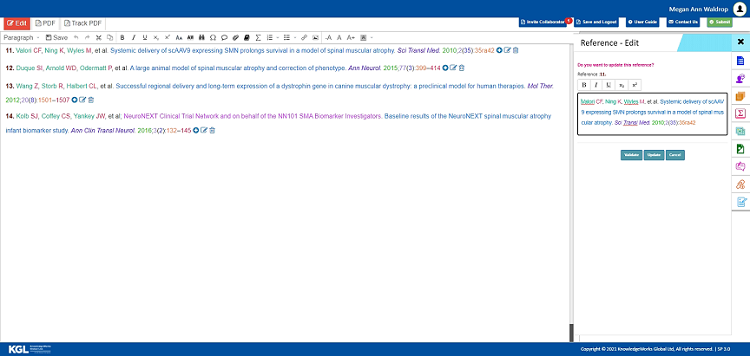
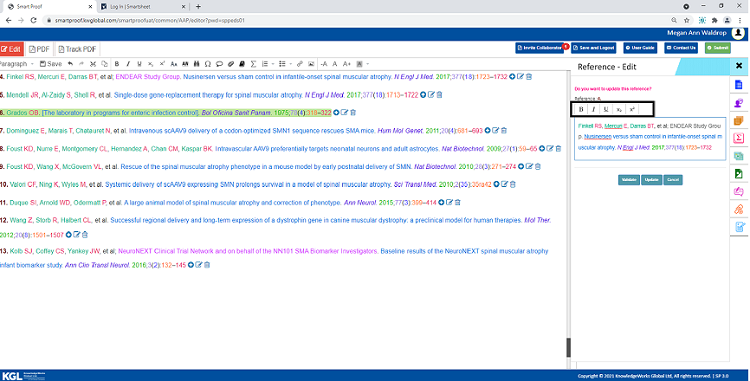
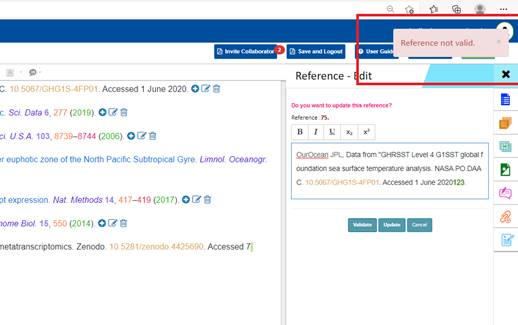
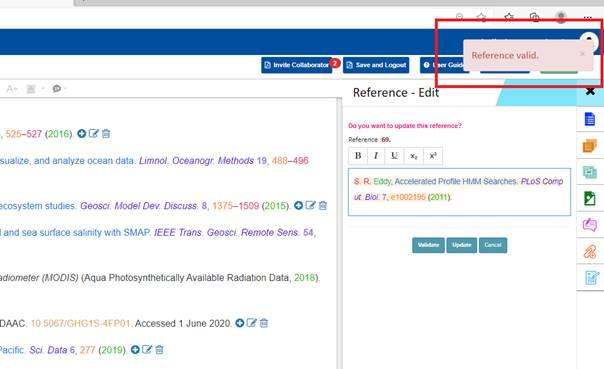
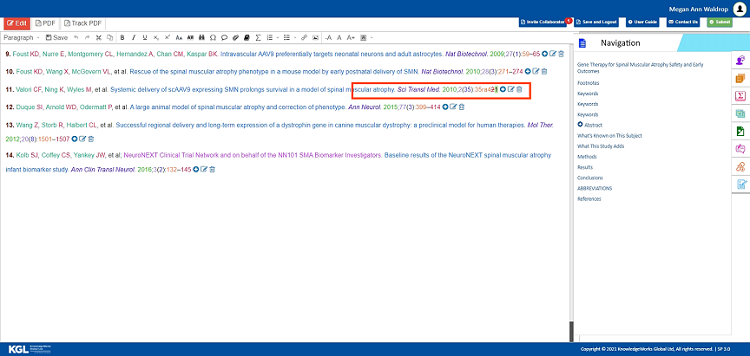
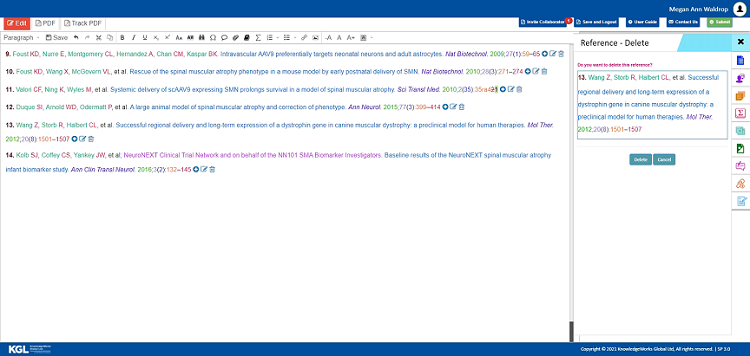
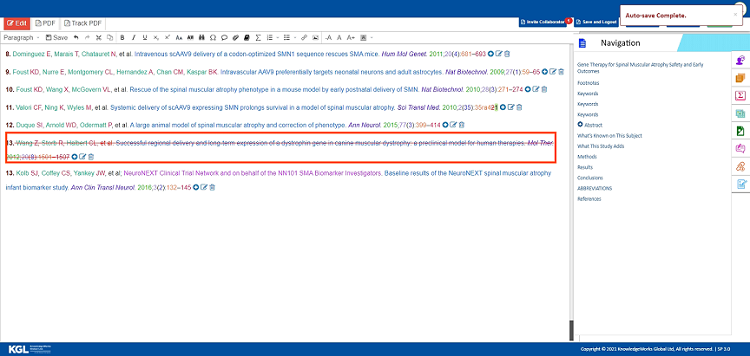
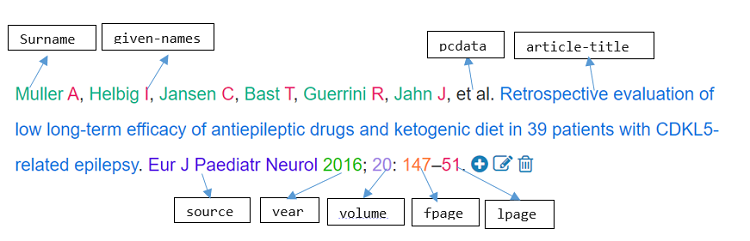
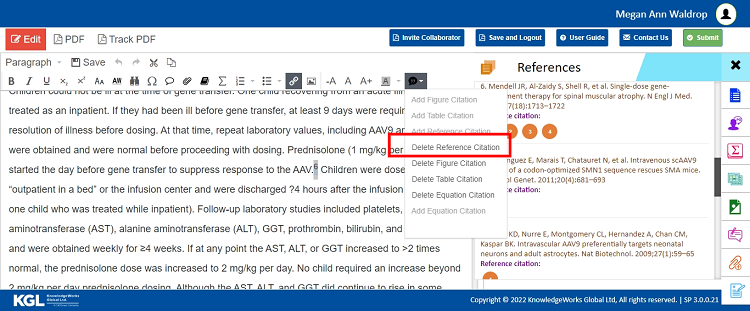
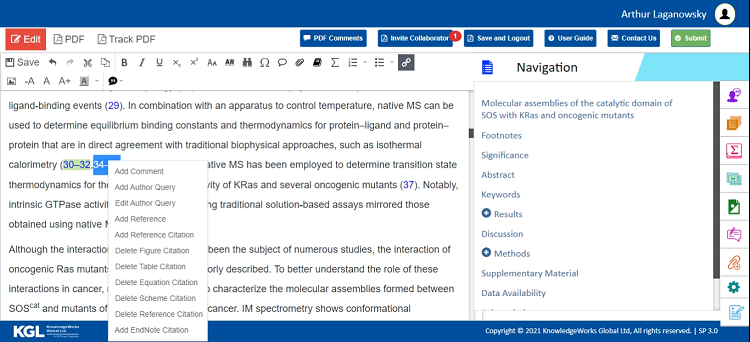
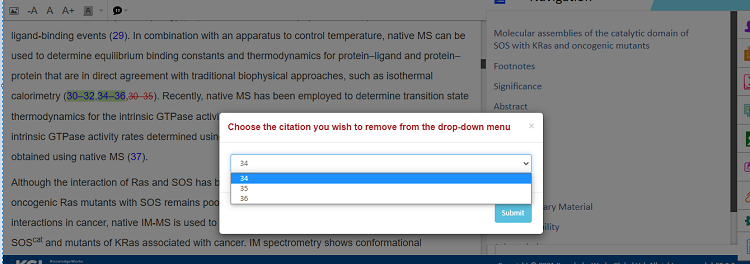
 “References” from the Navigation Panel on the right side of the Edit screen.
 in the reference panel indicates the Reference citations of the particluar reference present in the article. You can navigate through the references citation by clicking on the desired reference citation.
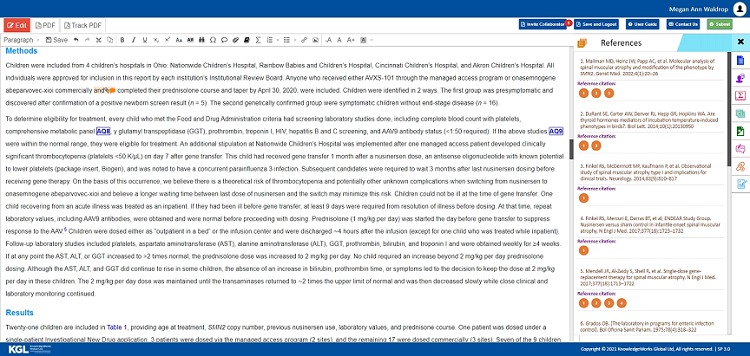
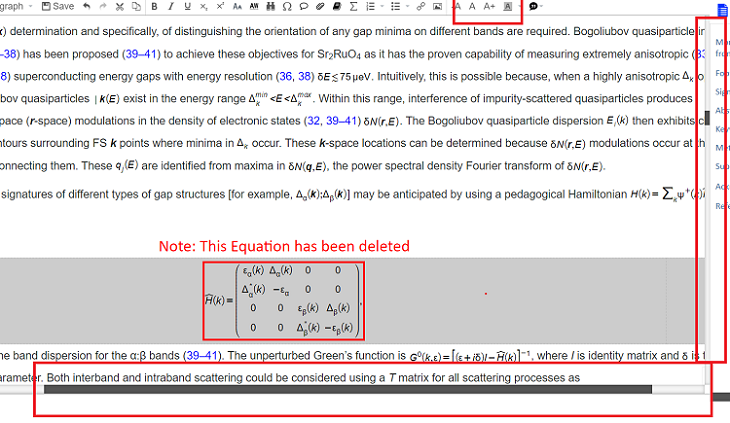
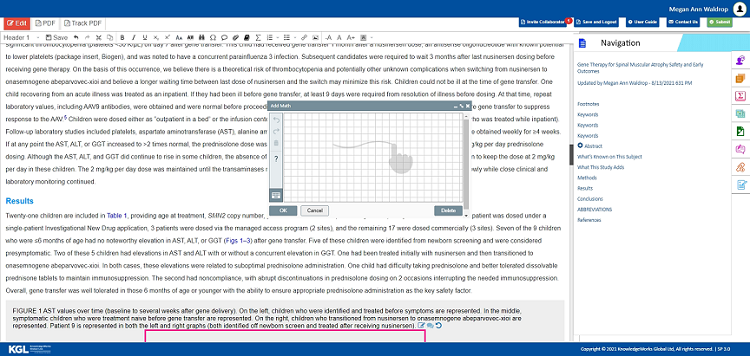
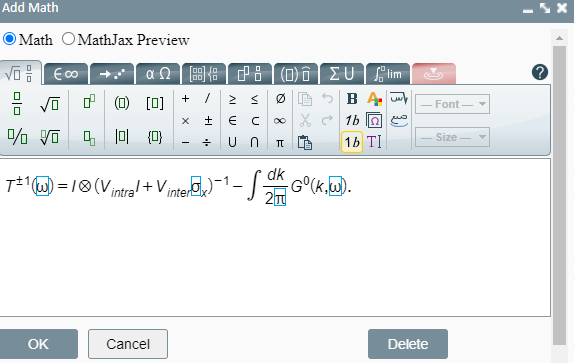
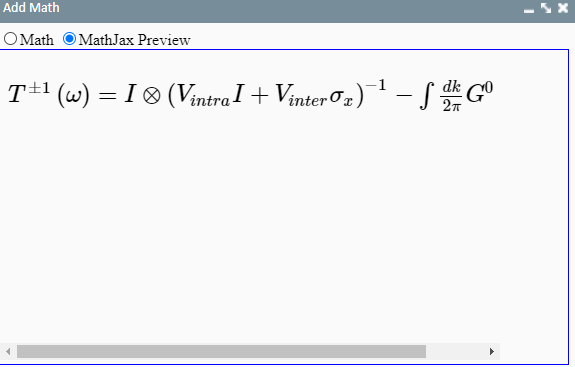
 “Equations” from the Navigation Panel on the right side of the Edit screen.
 in the equation panel indicates the Equation citations present in the article. You can navigate through the equation citation by clicking on the desired equation citation.
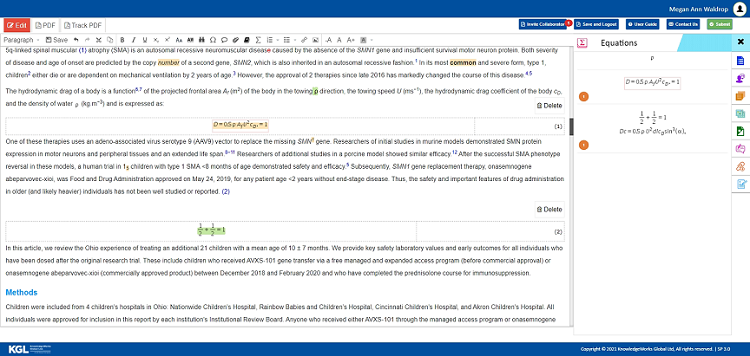


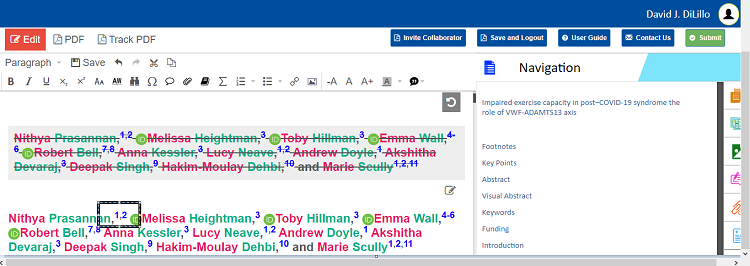
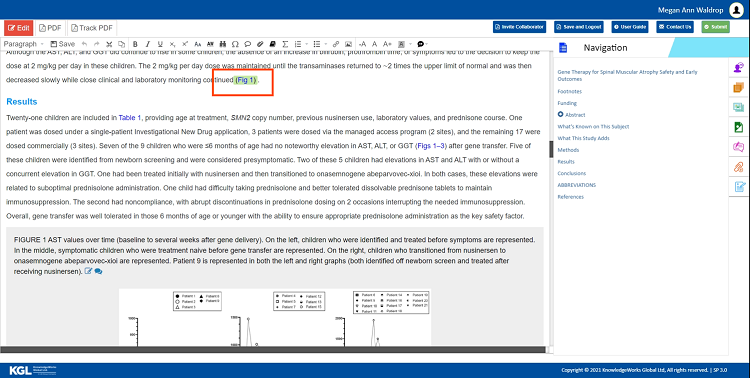
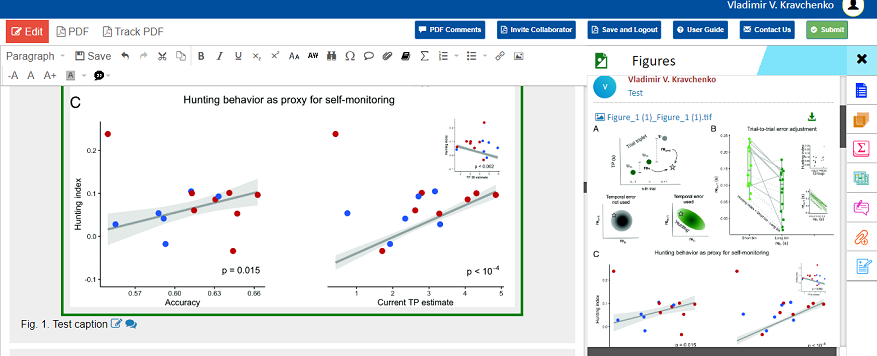
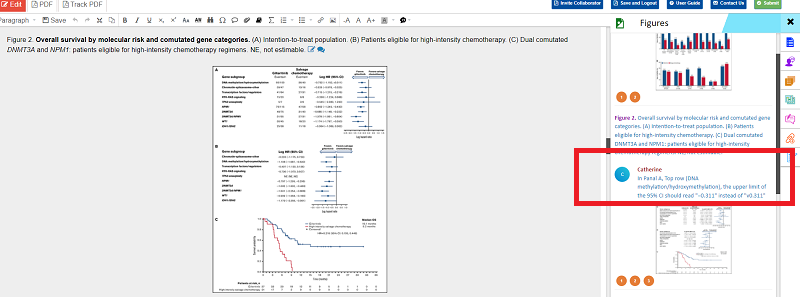
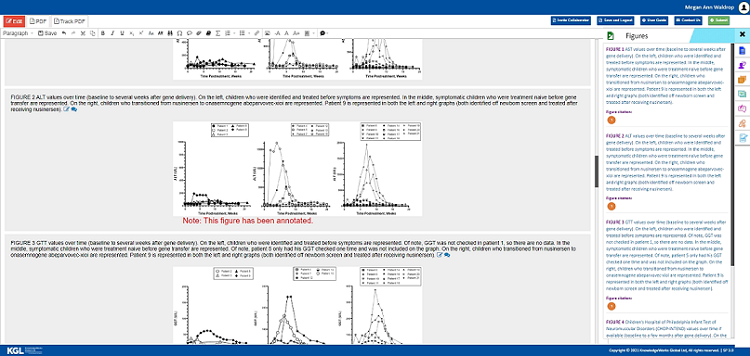
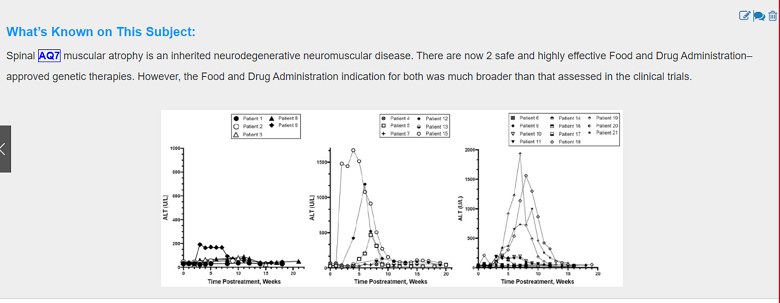
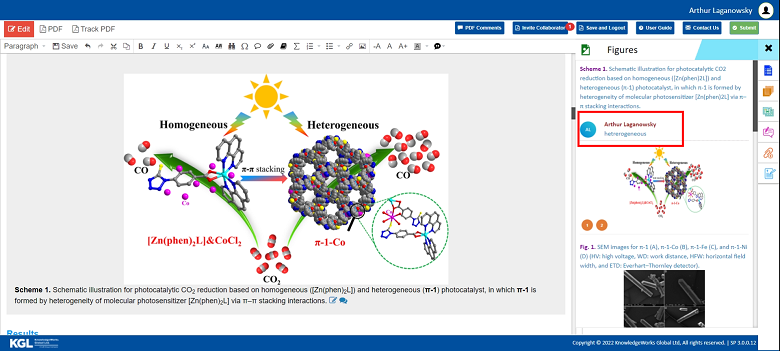
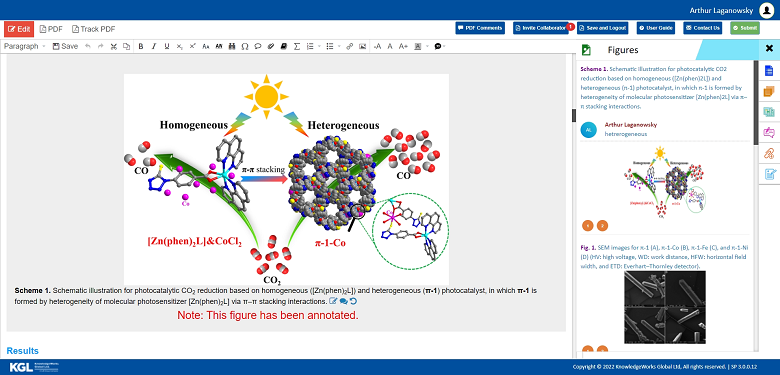
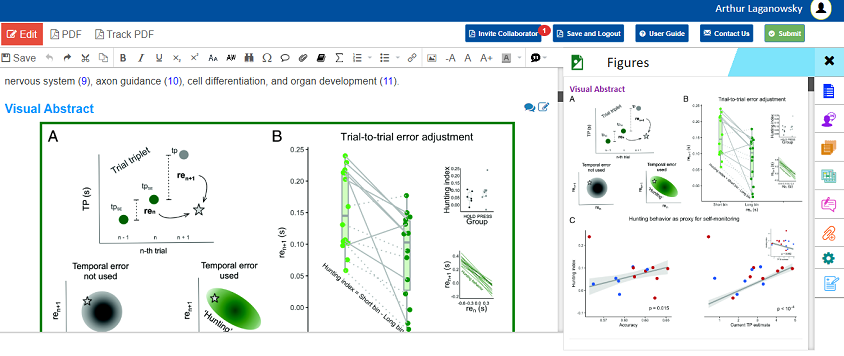
 “Figures” from the Navigation Panel on the right side of the Edit screen.
 in the figure panel indicates the Figure citations present in the article. You can navigate through the figures by clicking on the desired figure.
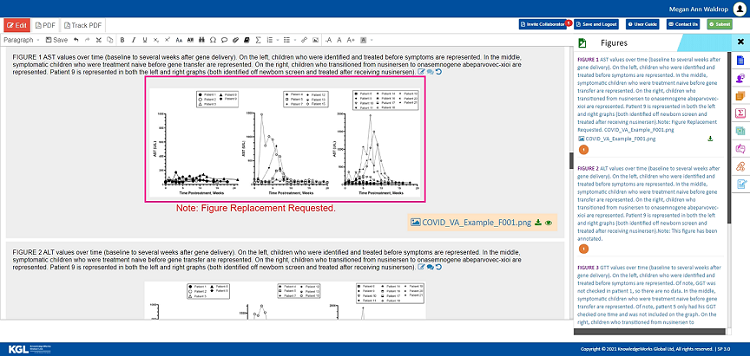
 download the figure.
 in the figure indicates the download option and icon
  helps to view the replaced image.
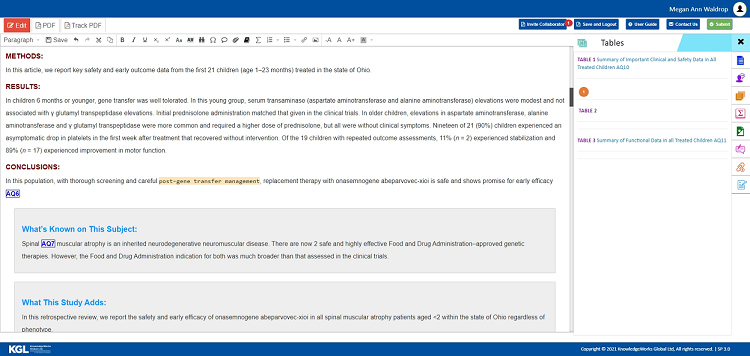
 “Edit Summary” from the Navigation Panel on the right side of the Edit screen.
 to view the edits in up and down manner.
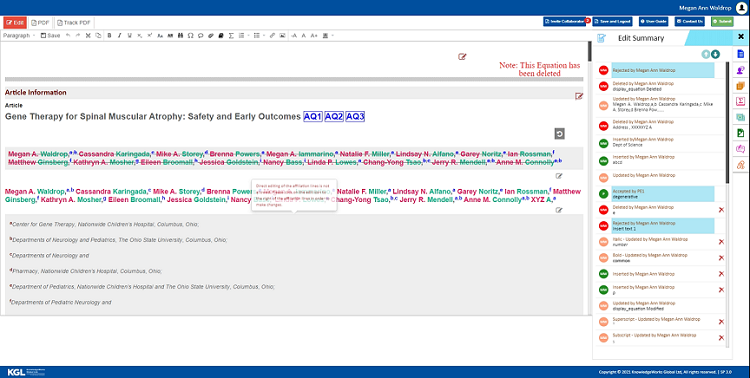
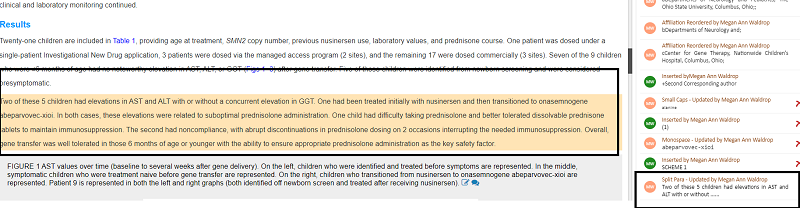
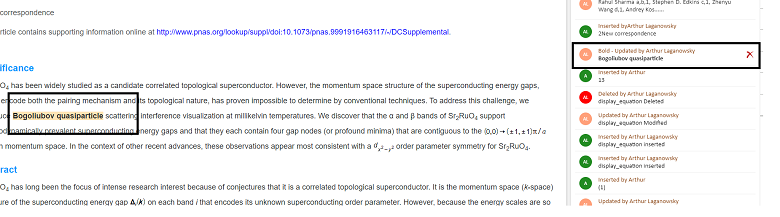
 “reset” option to revert or undo the correction in the edit summary.
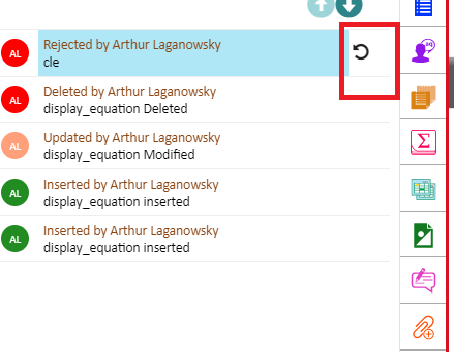

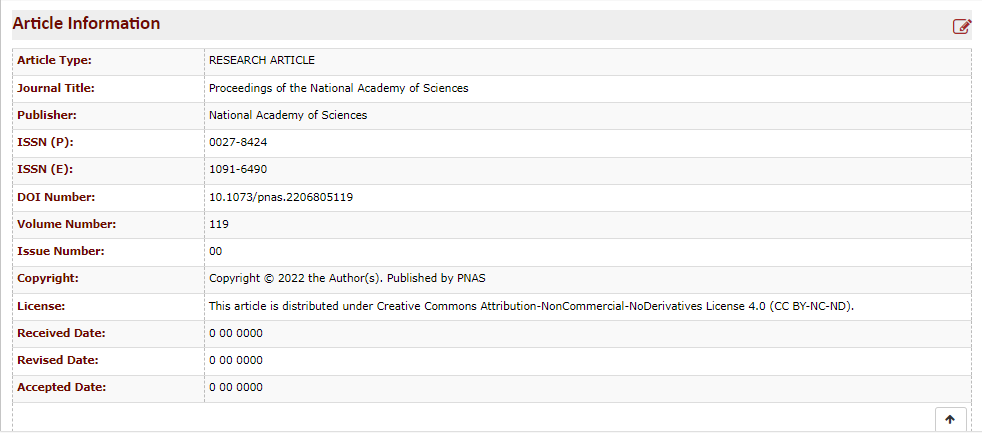
 on the bottom right of the “Article Information” to close the screen, if necessary.


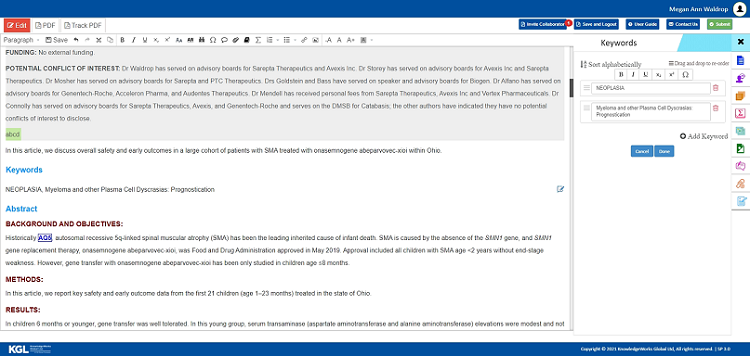
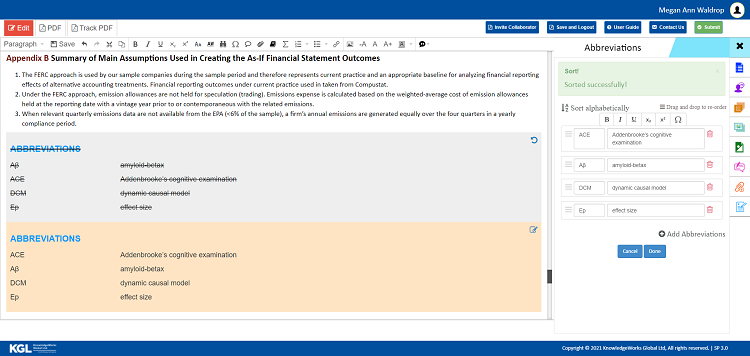
 icon to change the keywords in the alphabetical order in the list.
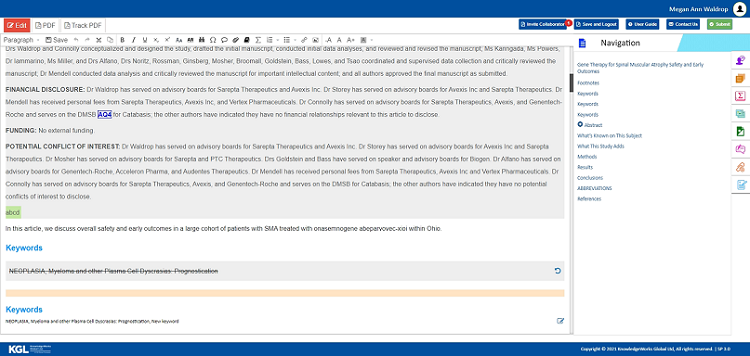
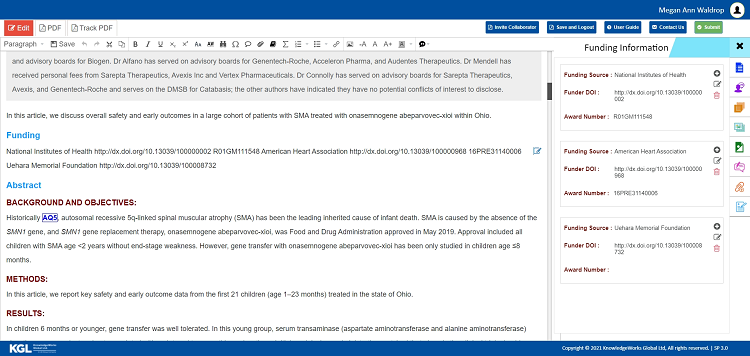
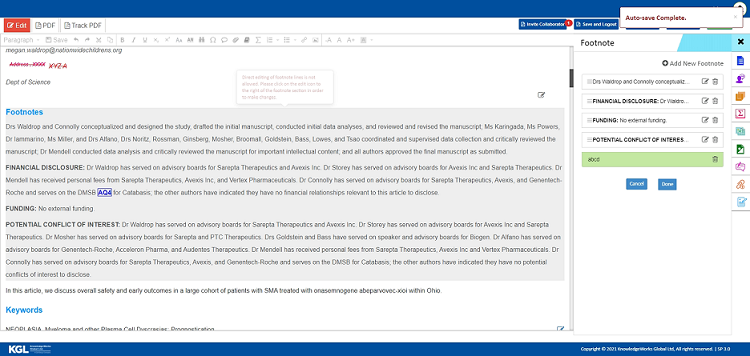
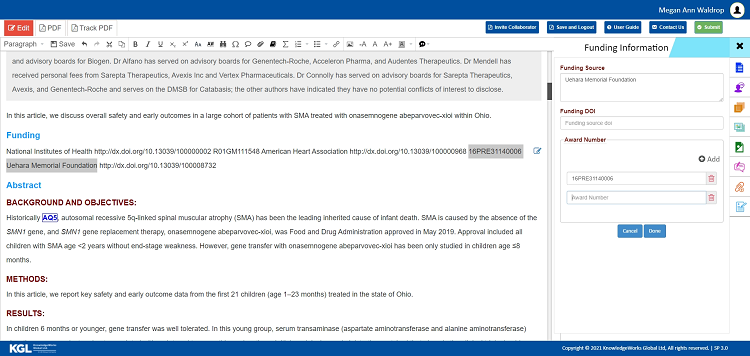
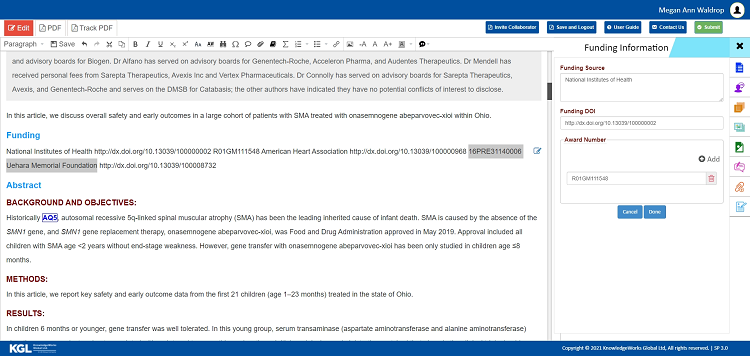
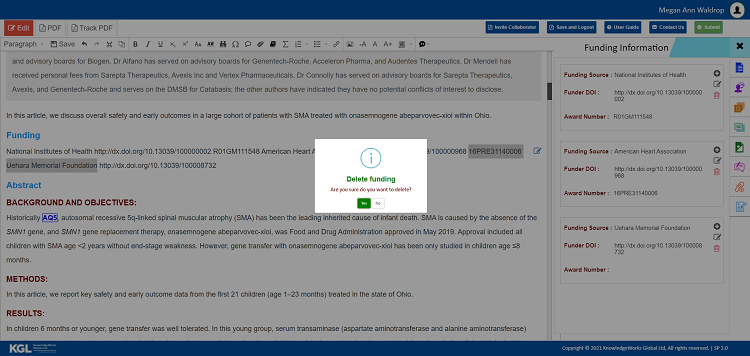
 to insert or add new funding details like Funding source, Funding Doi, and Award number/grant sponsor to the section. Each funding resource have this Add icon, you can insert the funding details in the respective order as needed.
 icon to add one or more Award number/grant sponsor to the funding resource as shown below. Click Done button, once the details are inserted in the section or click Cancel button, if no edits/changes are made in the section.

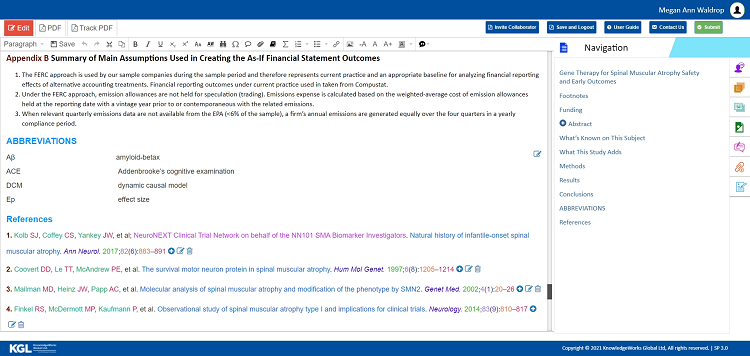
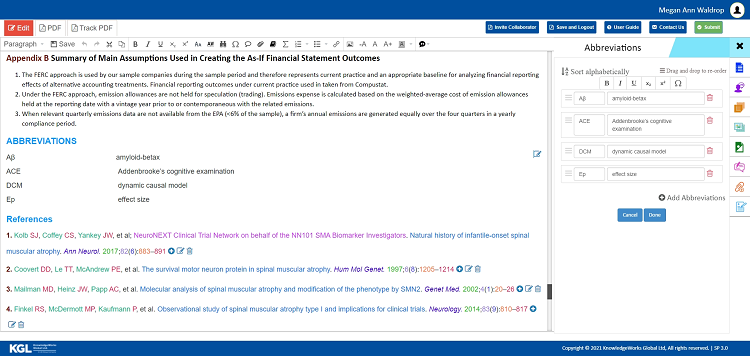
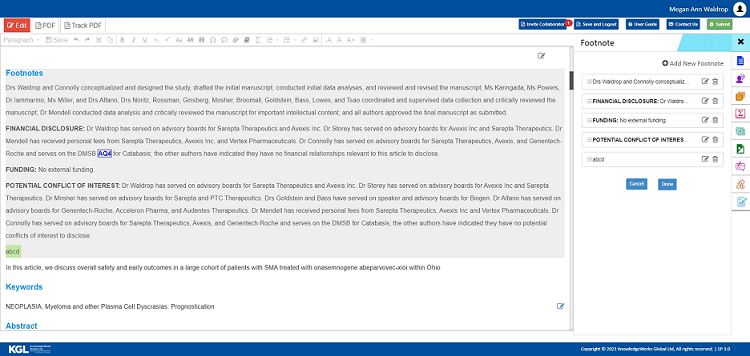
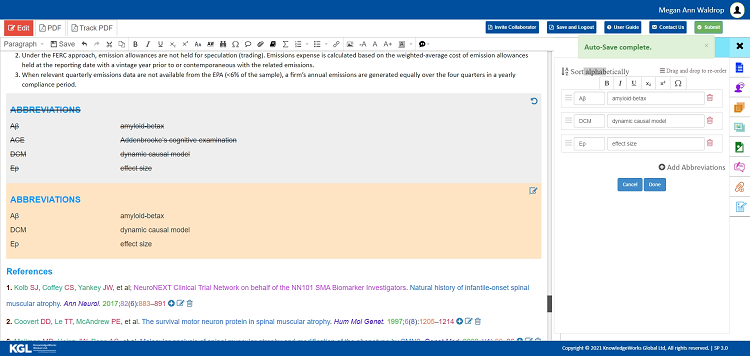
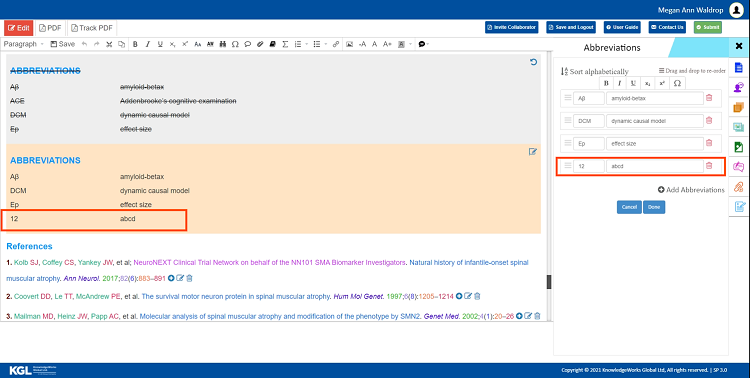
 icon at the end of the deleted abbreviation section to reset/undo the correction, if required.
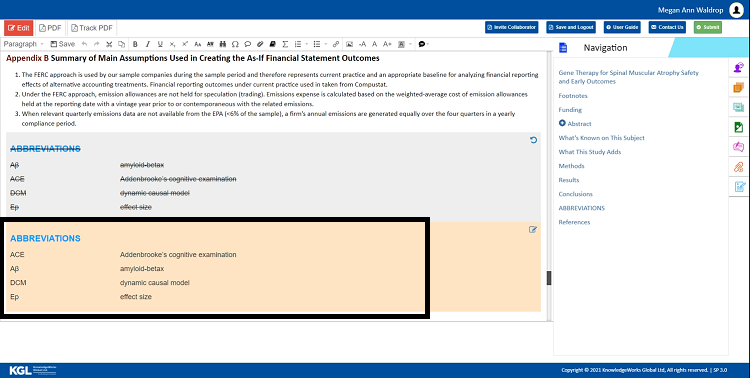

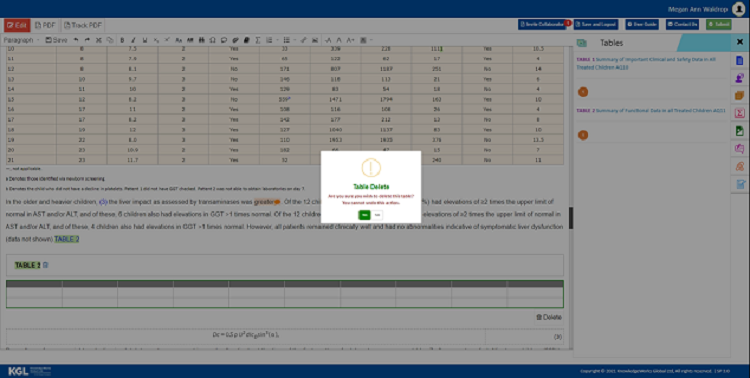
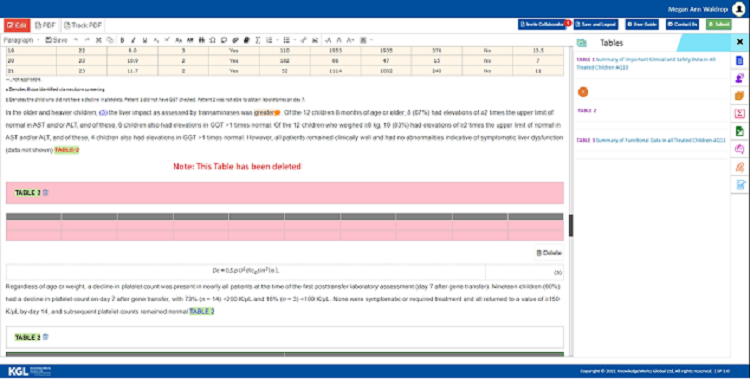
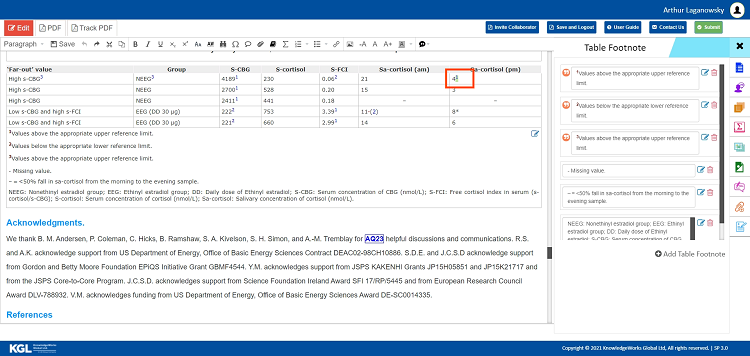
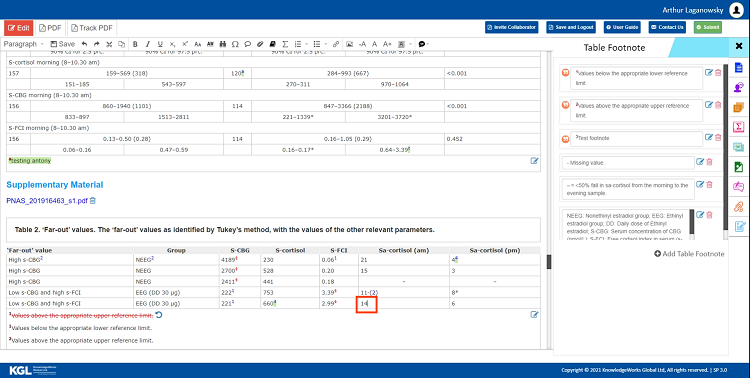
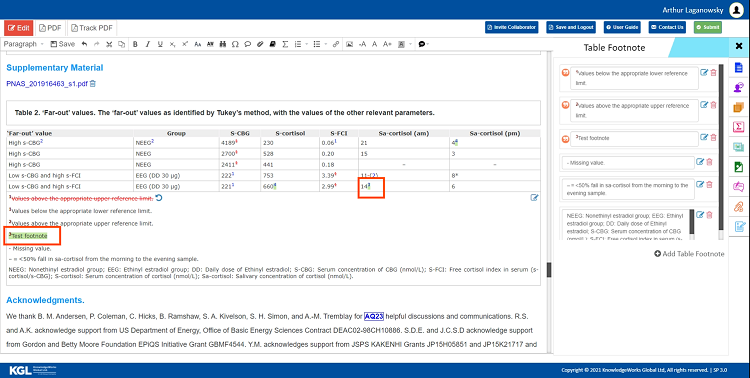
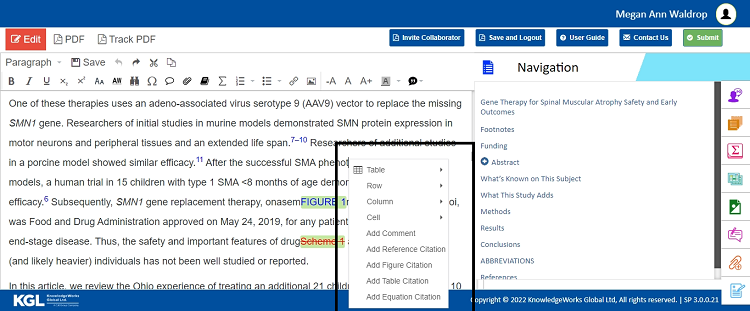
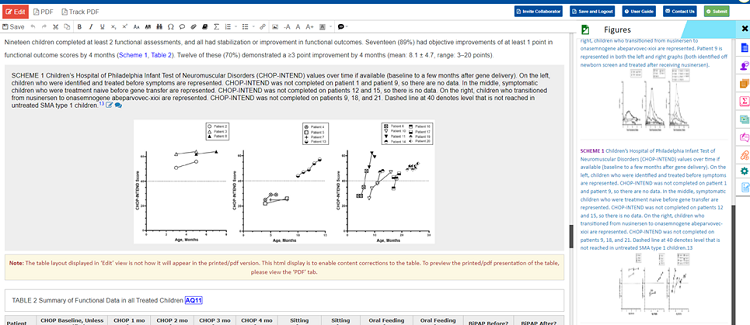
 “Table” from the Navigation Panel on the right side of the Edit screen.
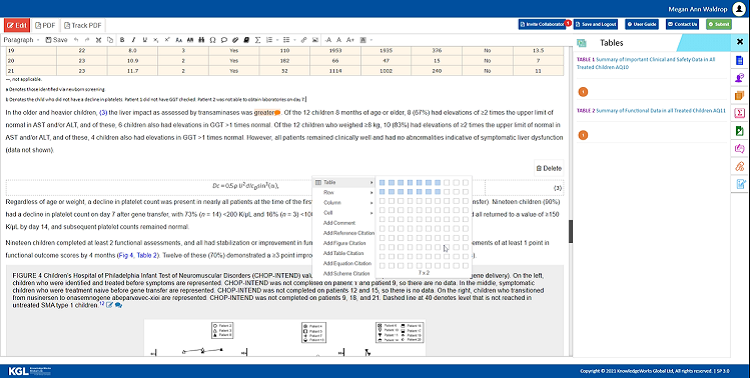

 .
.
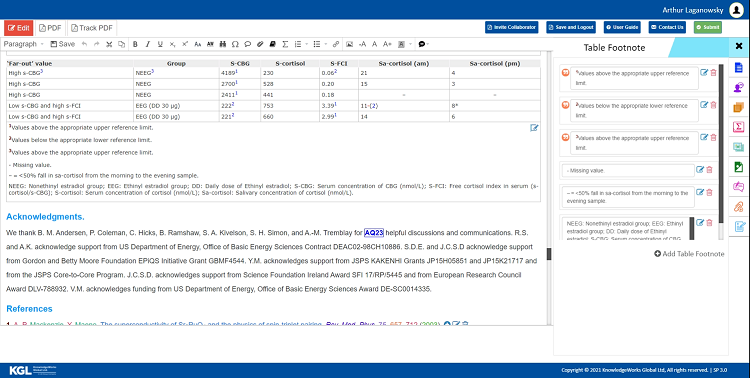
 to add table footnote citation in the table column.
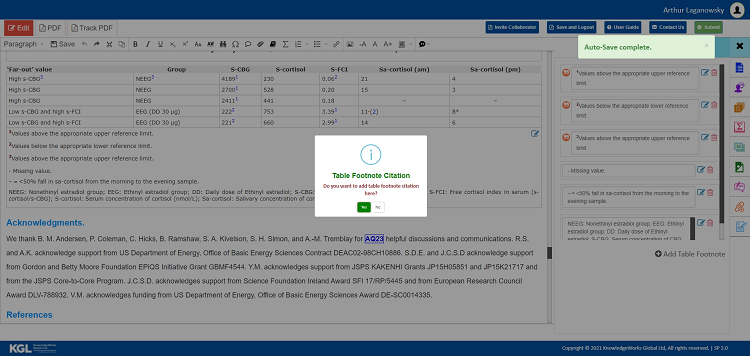


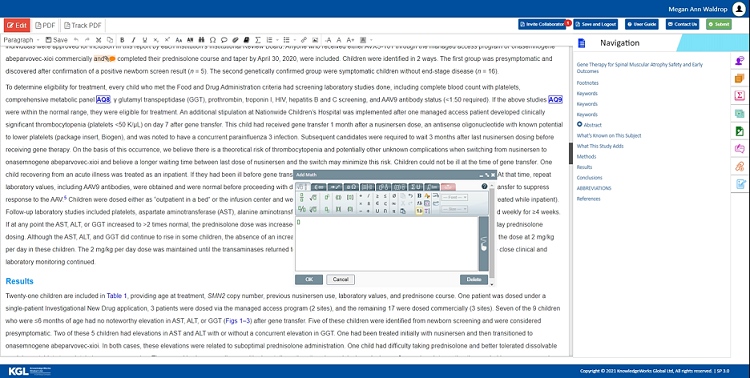
 “Special Character” in the Menu toolbar to open the window of symbols.
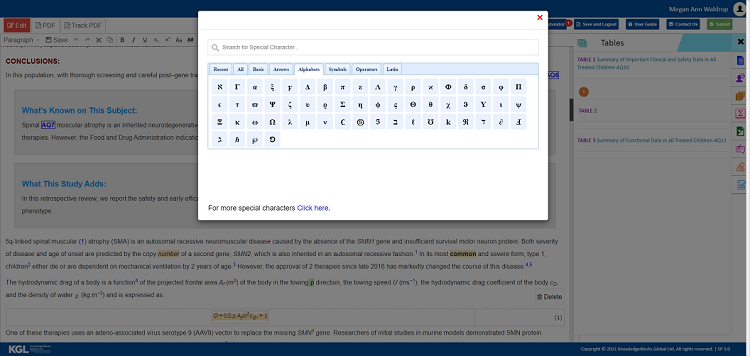


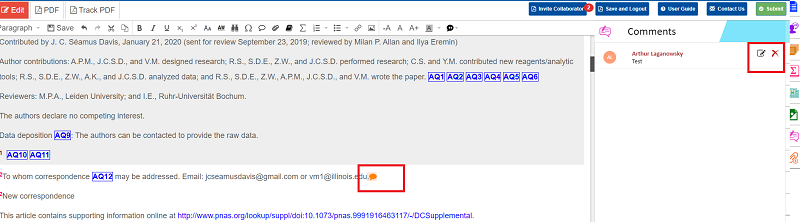
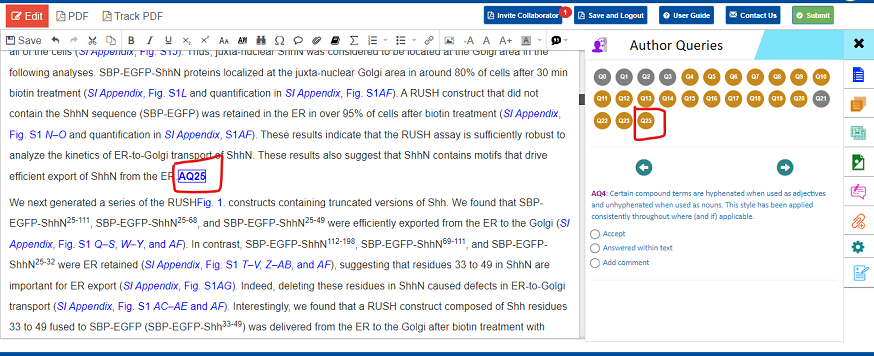
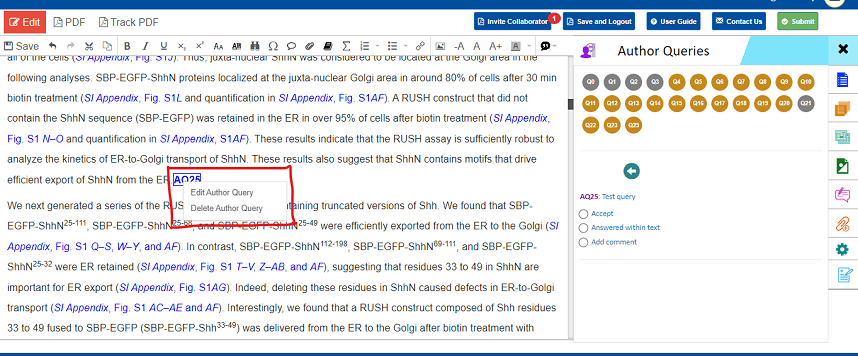
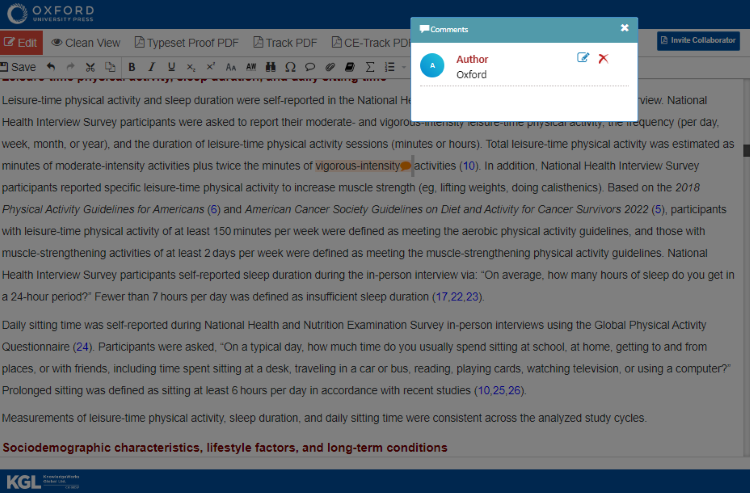
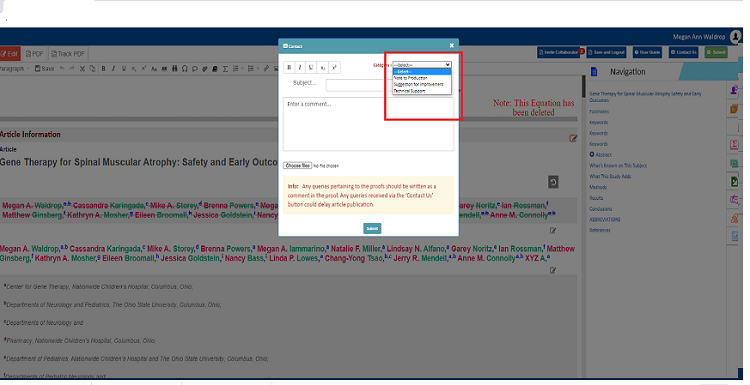
 “Comments” from the Navigation Panel on the right side of the Edit screen.
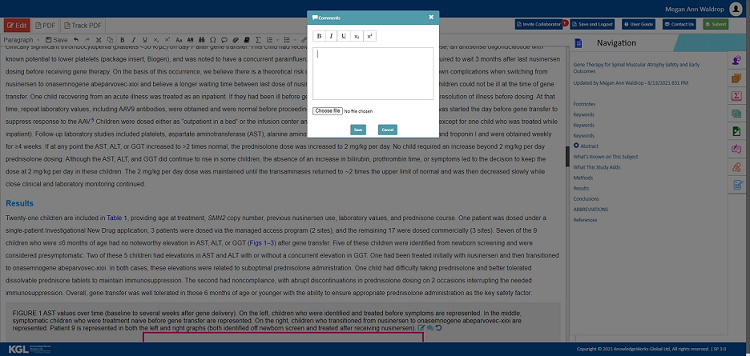
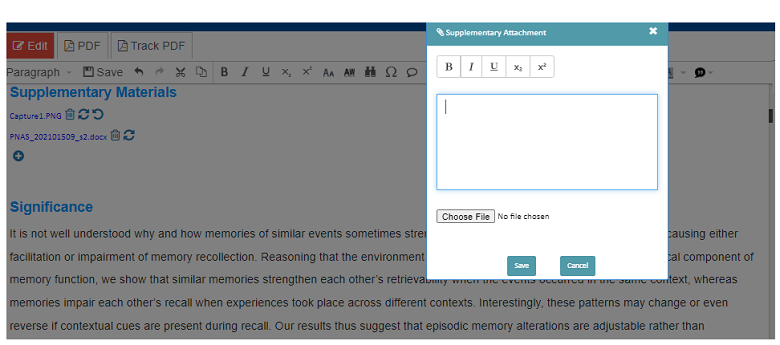
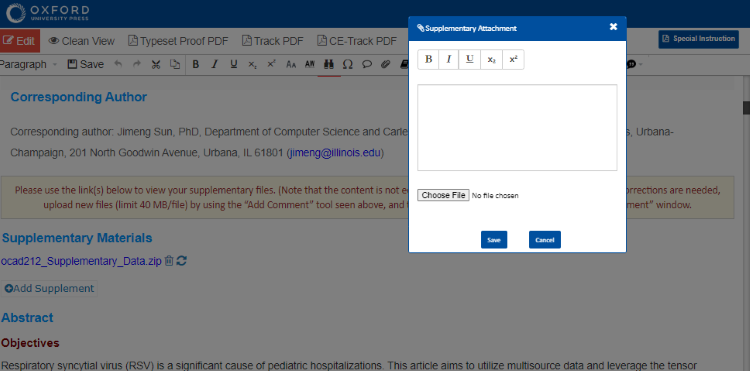
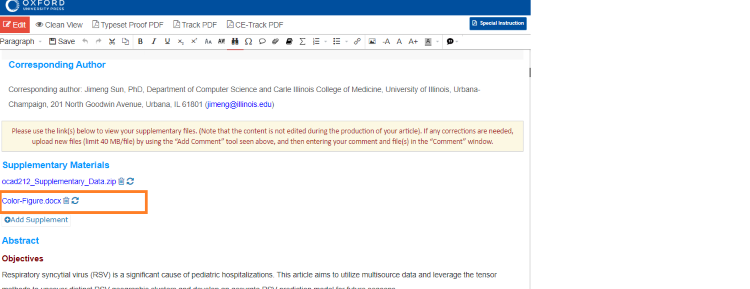
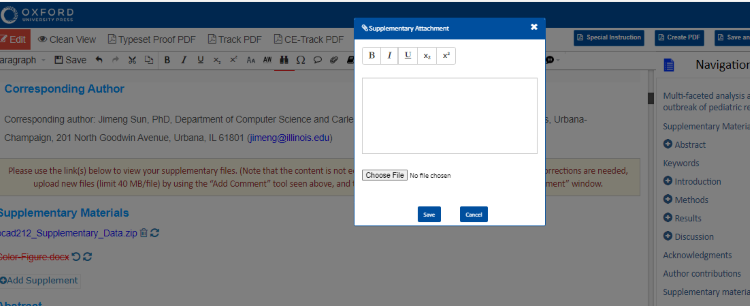
 “Add Attachment” in the Menu toolbar.
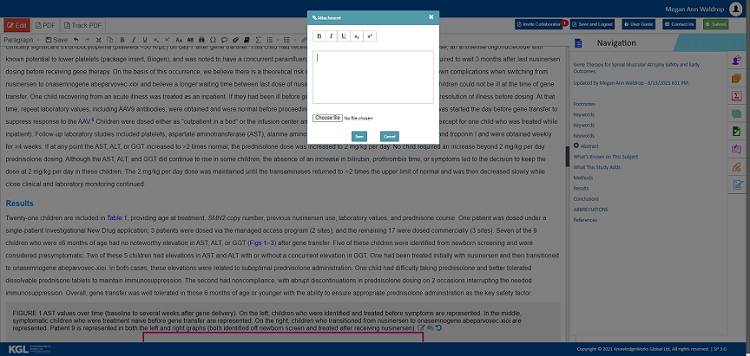
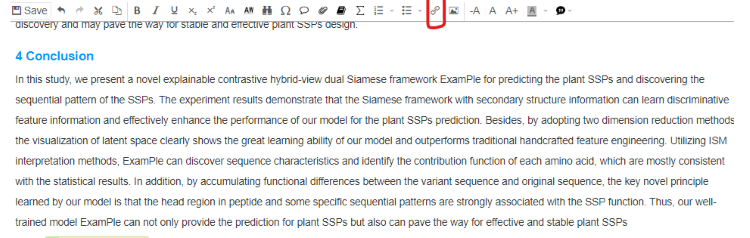
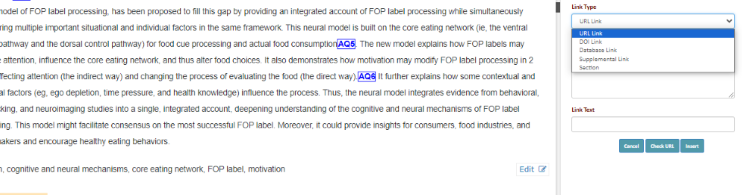
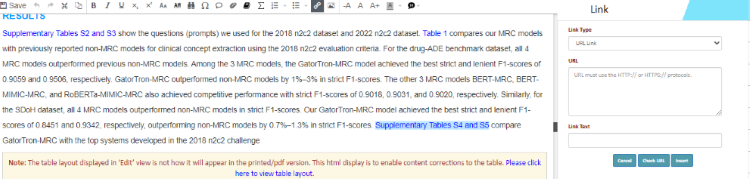
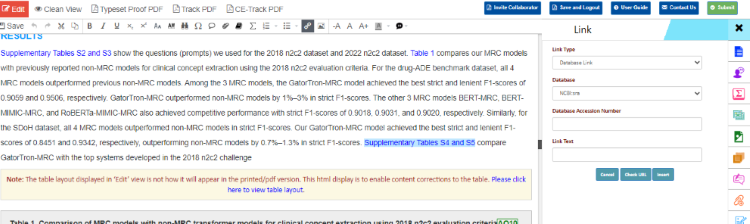
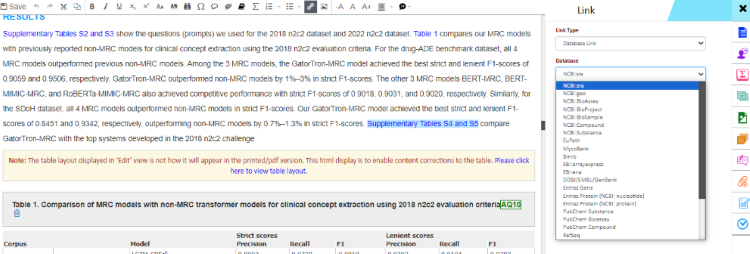
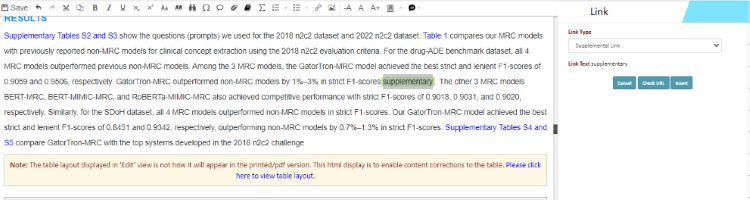
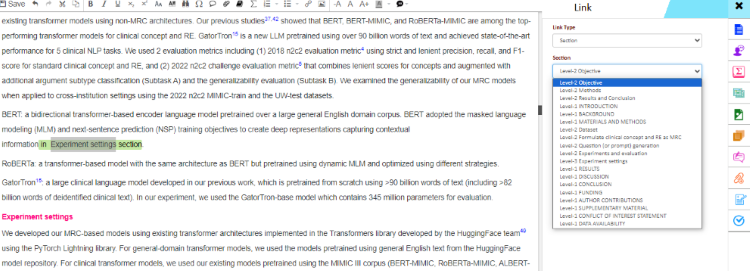
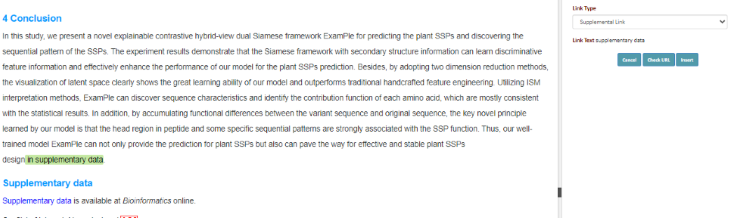
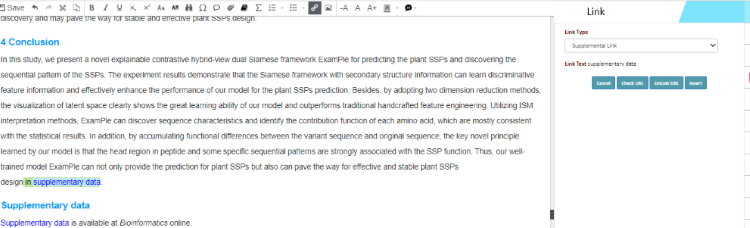
 “Insert/Edit link” in the Menu toolbar to open the window.

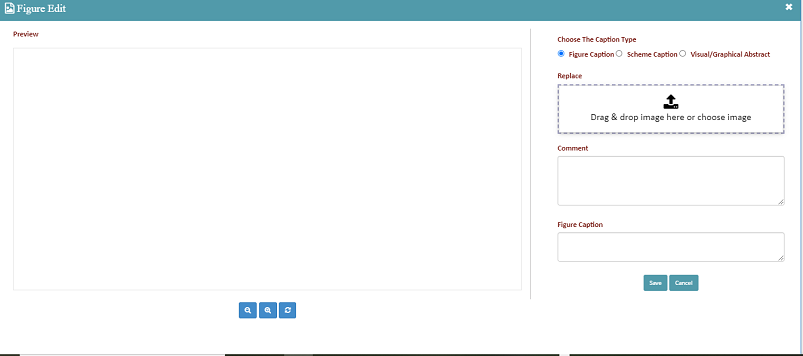
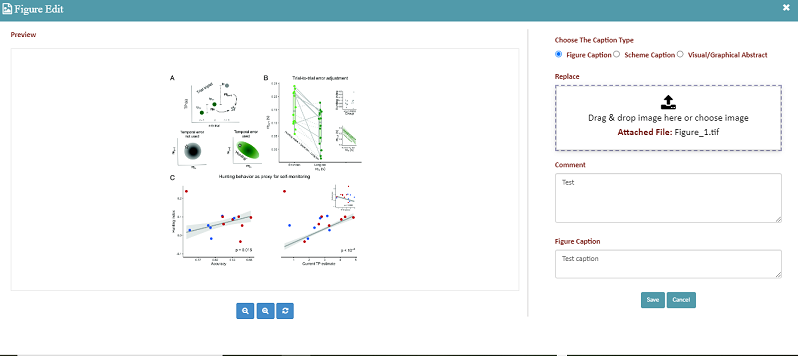
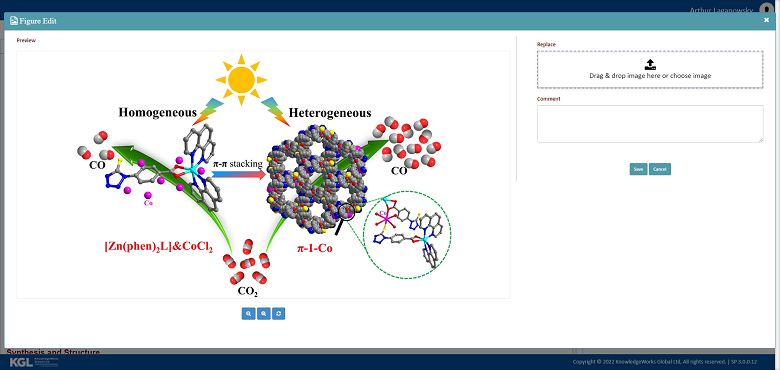
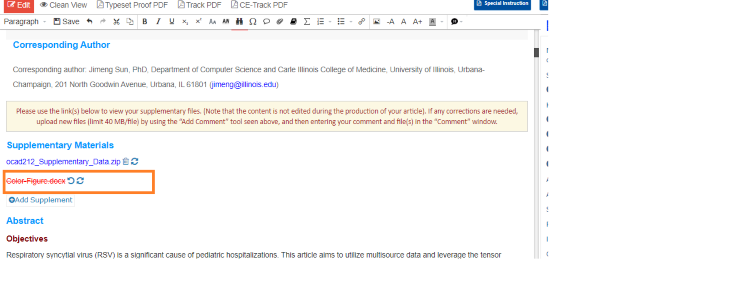
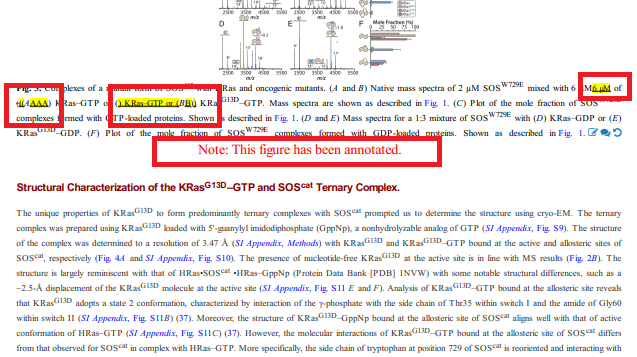
 “Edit” option at the end of Figure caption to edit or replace with the new figure.
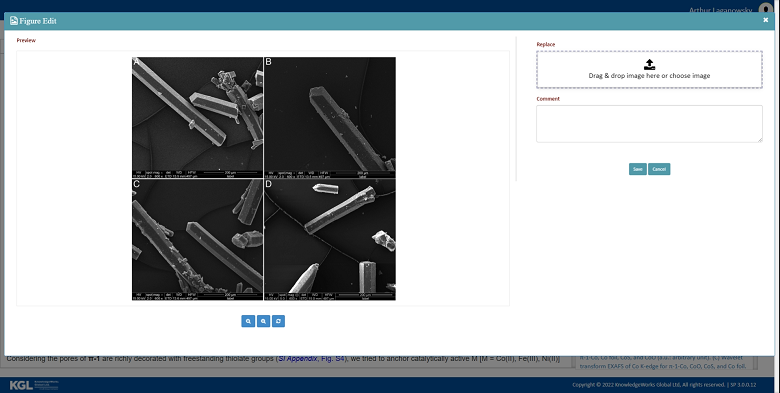
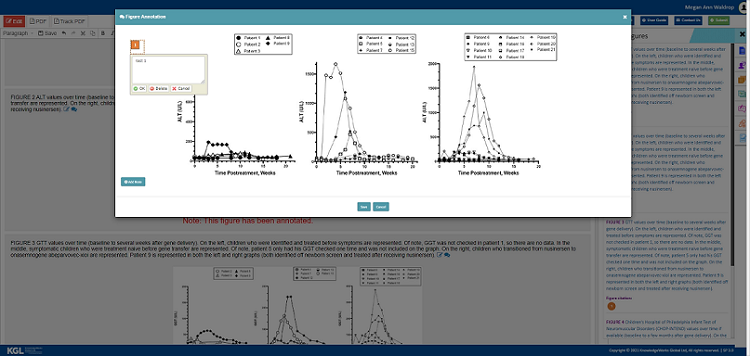
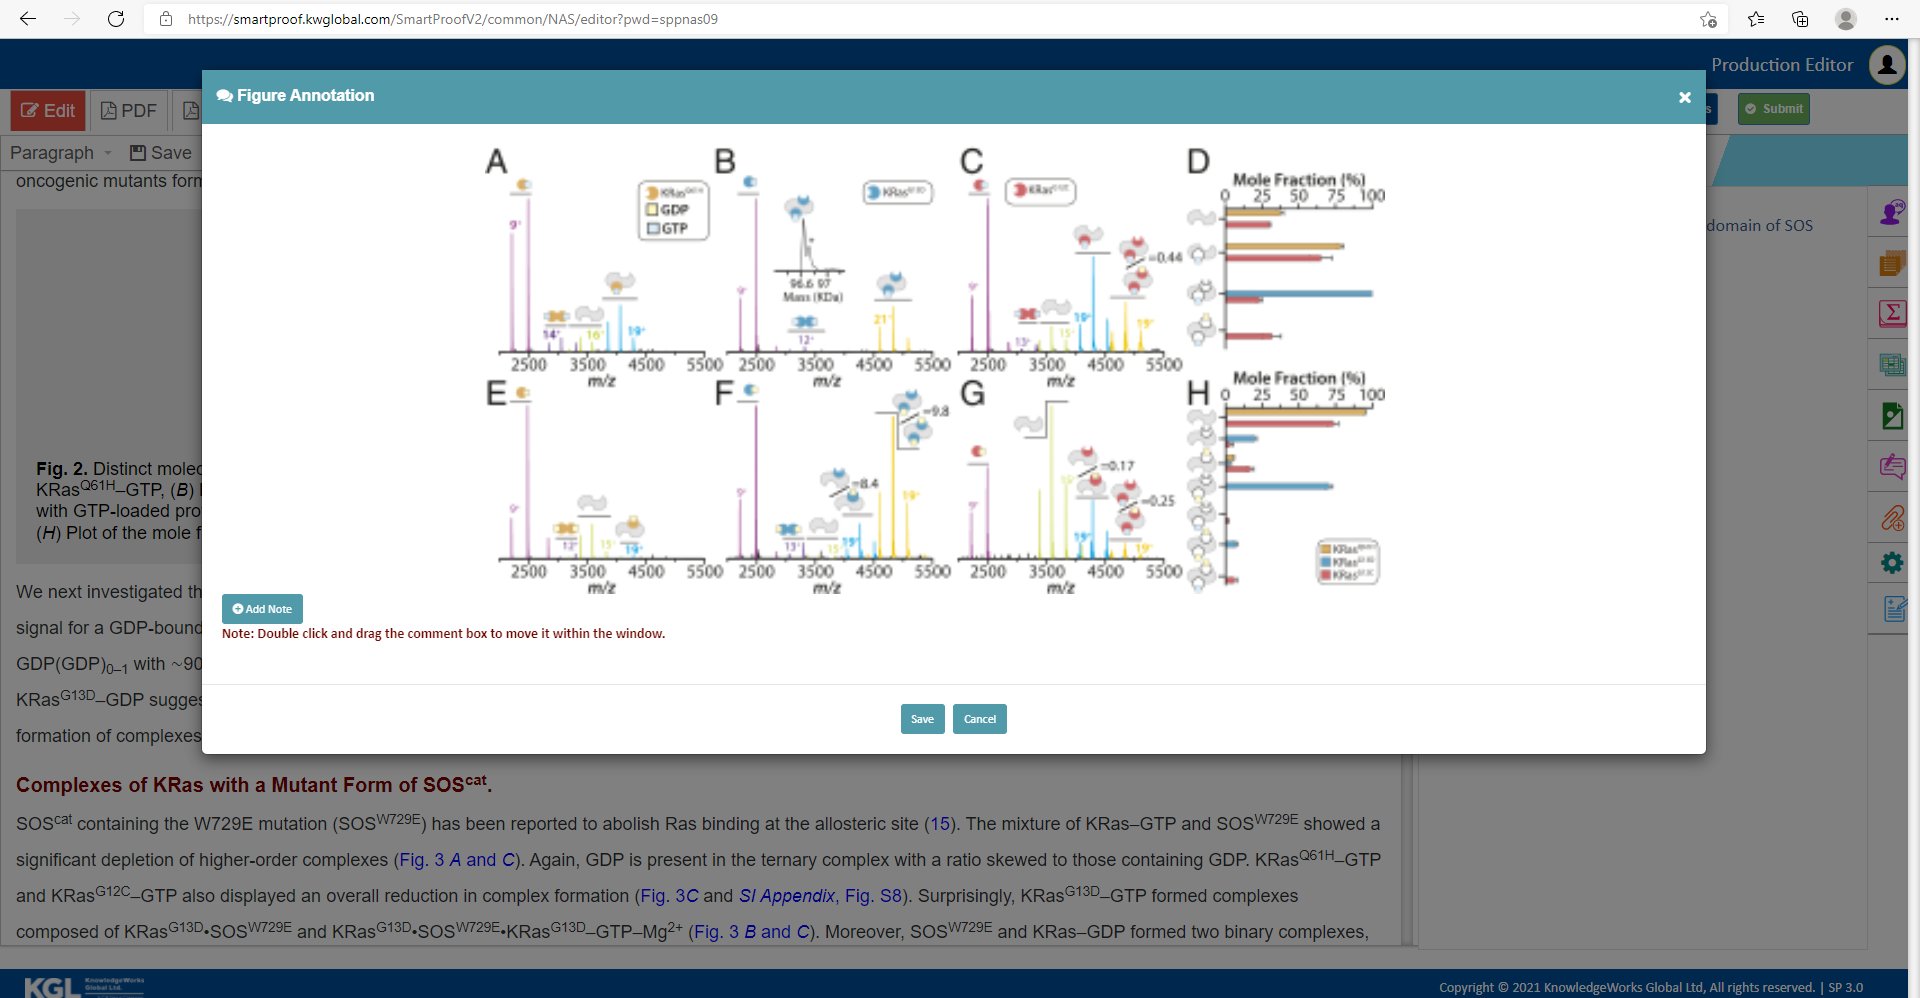
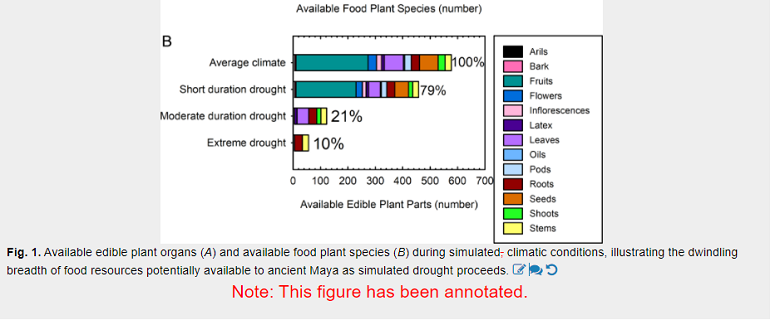
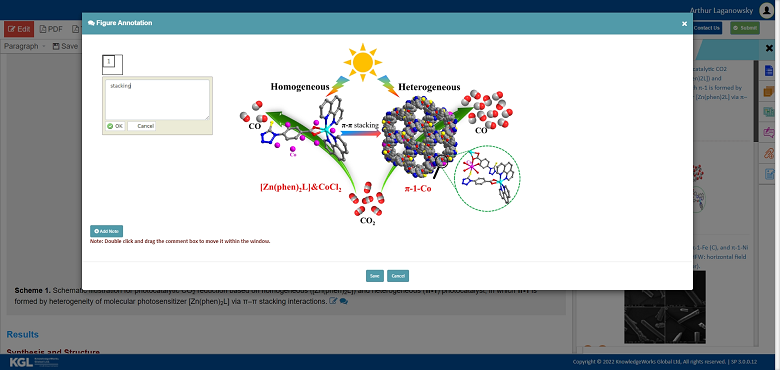
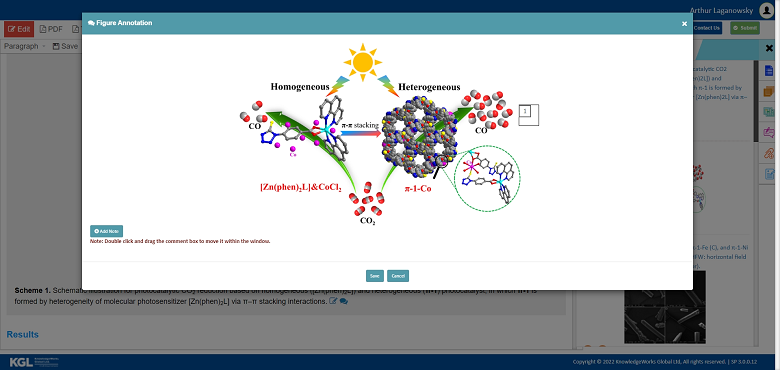
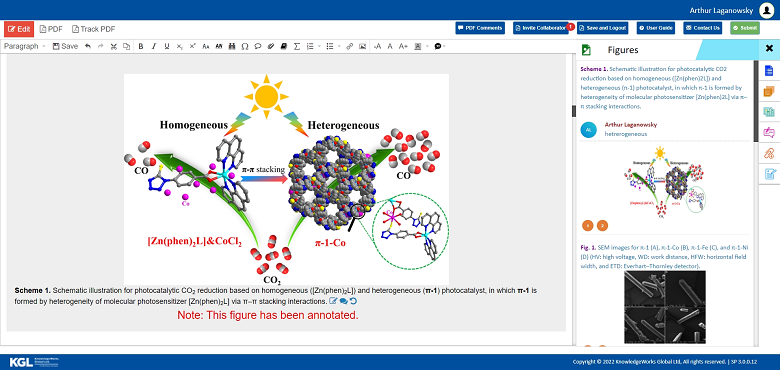
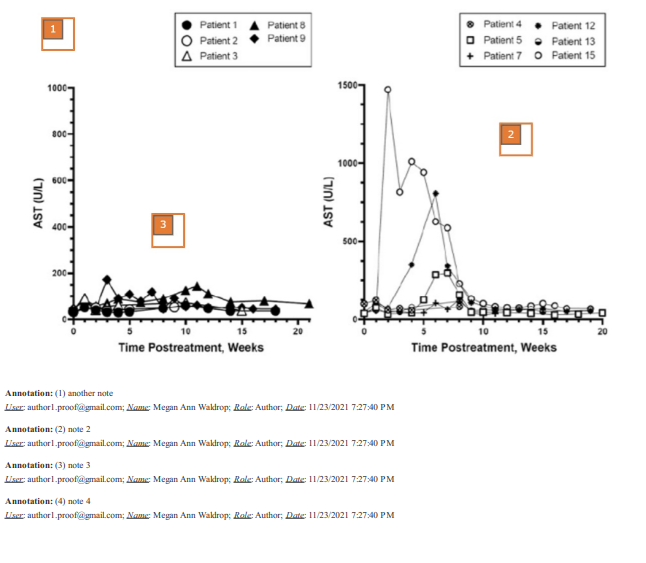
 "Annotate Image" icon to edit or add instruction to the figure by clicking +Add Note button.
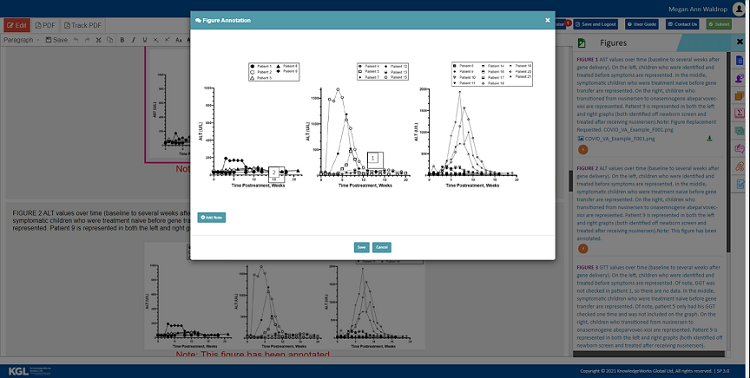


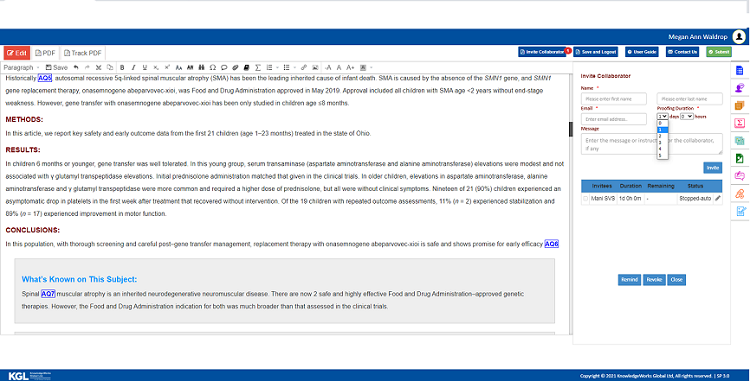
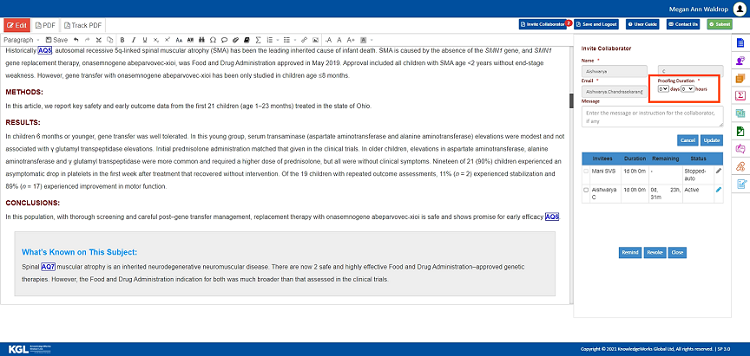
 . The Invite Collaborator window opens as shown below.
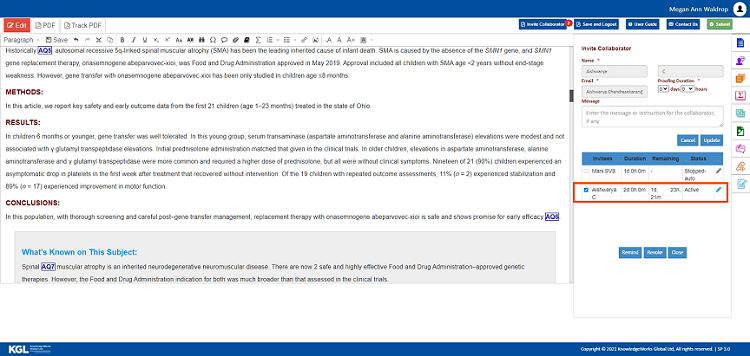
 . The following notification message will pop-up, as shown below.
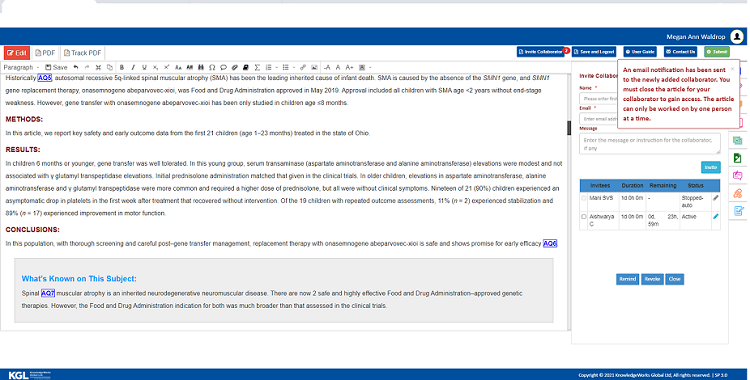
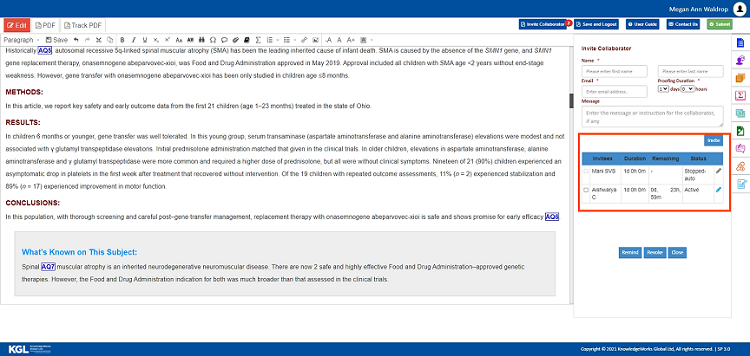
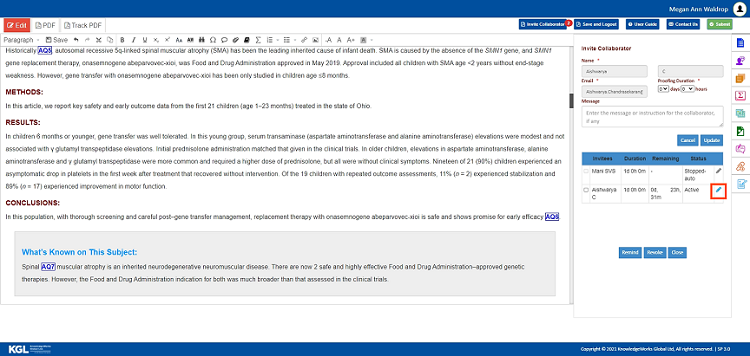
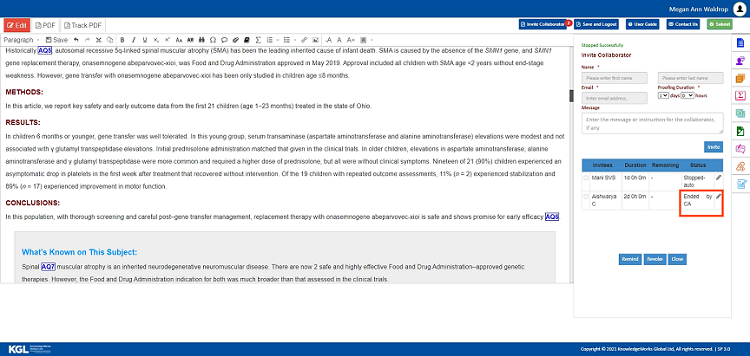
 . Once the editing duration is updated, the following pop-up message Updated Successfully will appear on the screen.
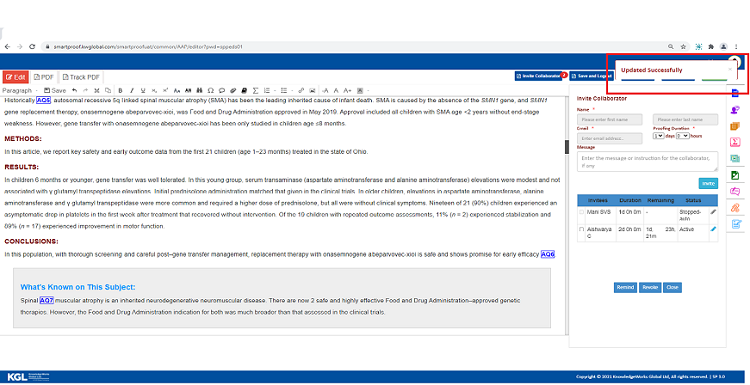
 icon. A reminder email will be sent to the collaborator, and the following pop-up message Reminded Successfully will appear on the screen.
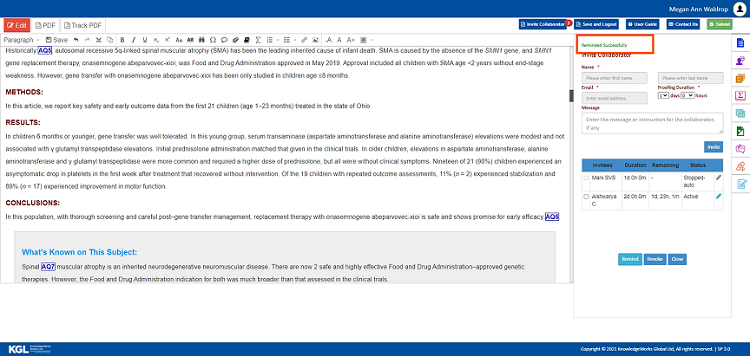
 icon. The following option Yes or No will pop-up to confirm the revoke.
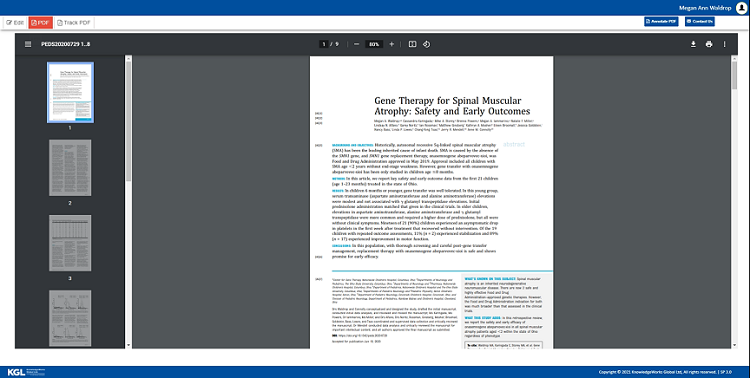
 button in the upper-right corner of the “PDF” window. You can have the PDF view option and document property details of the PDF.
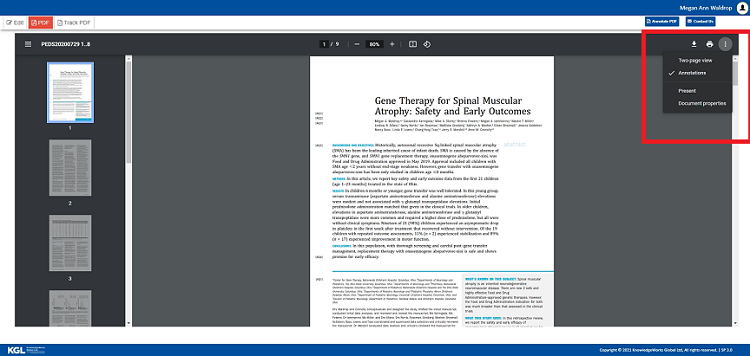
 button to download the Annotated PDF of the article.


 available in the upper-right corner as shown in the below image.
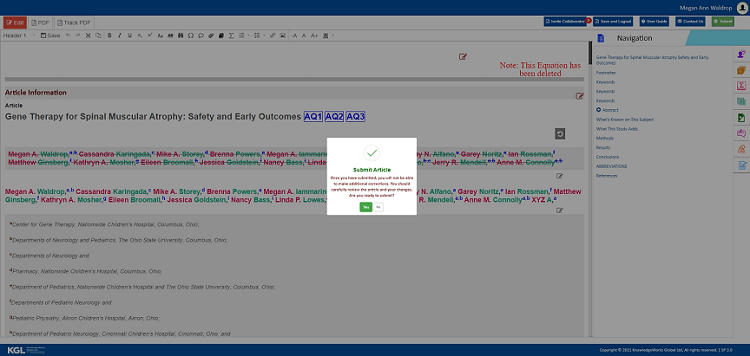
 available in the upper right-hand corner of the screen for any clarification or support.
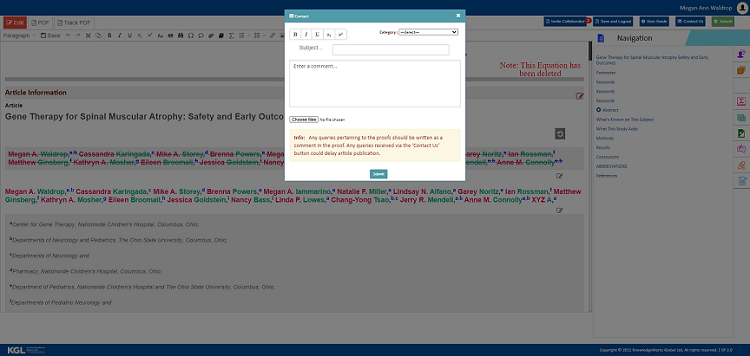
 option.
 to submit the form.
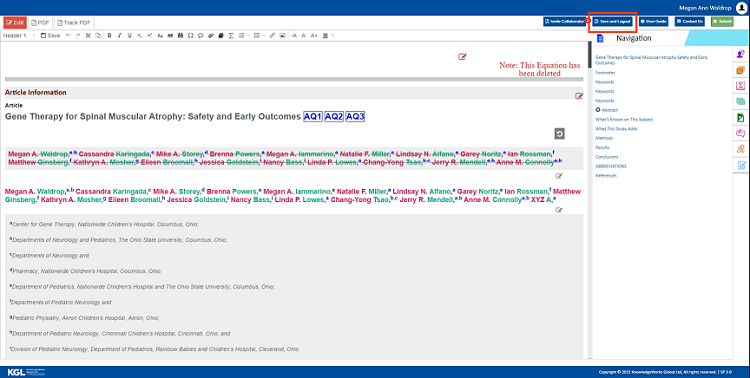
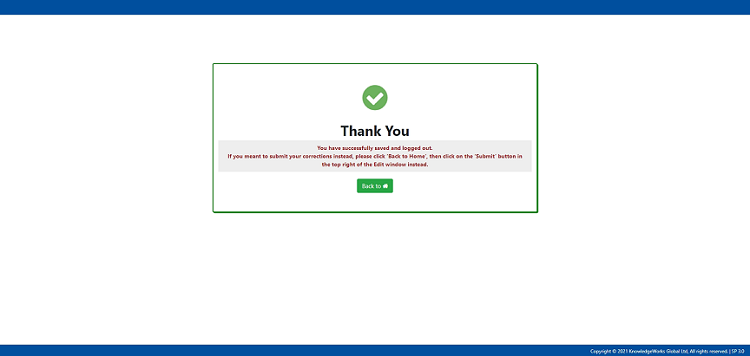
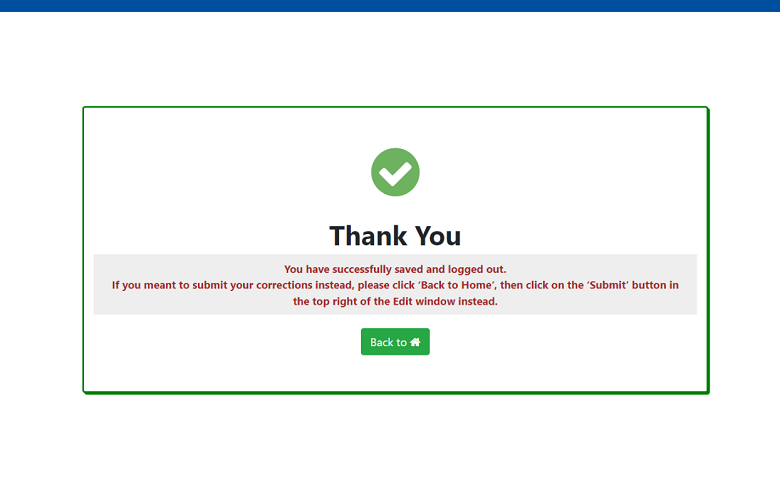
 Save & logout message